In an earlier tutorial this week, we demonstrated how to create a basic window (or in fact any component) that can cut a hole on a face. The drawback of a single component is that it can only cut a hole on a single face and walls for instance modelled with real world thickness, have two faces.
In this tutorial, we demonstrate how to create a component (more exactly a complex component) that can cut the holes on both the outer and inner faces of such a wall.
The Initial Component
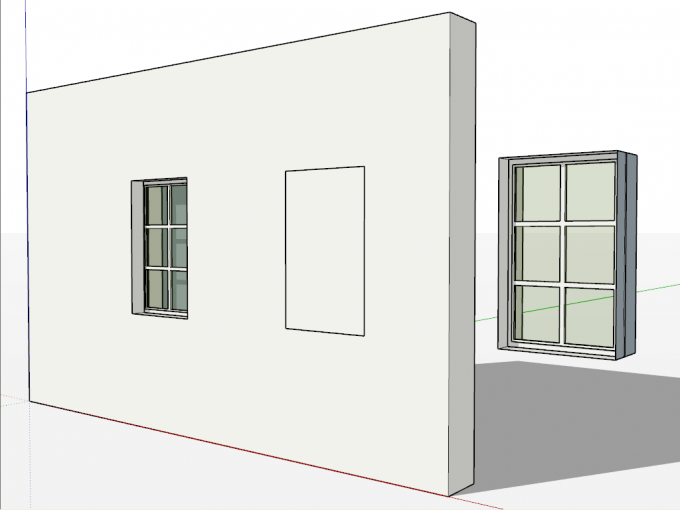
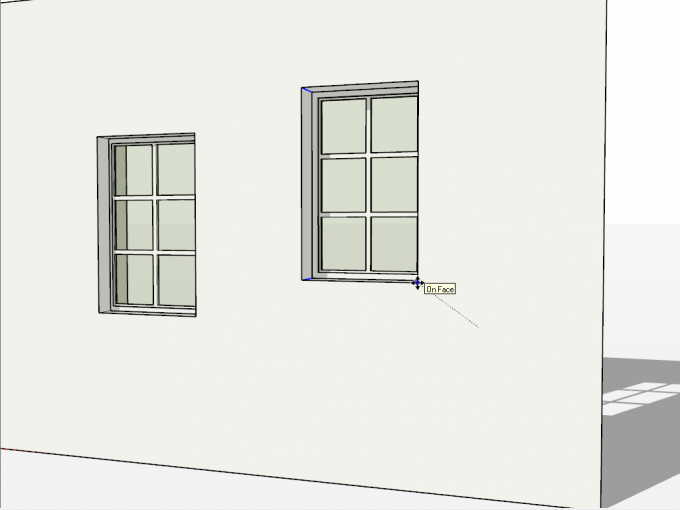
As we cannot change how SketchUp works, of course, we need to figure out some workarounds. In the image below, I already start with a basic window component that has the ability to cut a hole into a face. Only the window glass is textured for better visibility of the issues.
On the lesft, there is the window component inserted from this side of the wall. In the middle, it is inserted from the other side and you can see its edges bleeding through the face but that it does not cut a hole. On the right, it is hung in the air so that you can see what it would look like. Its "depth" is set exactly the same as that of the wall (this is a prerequisite).
Transparent Back Face Material
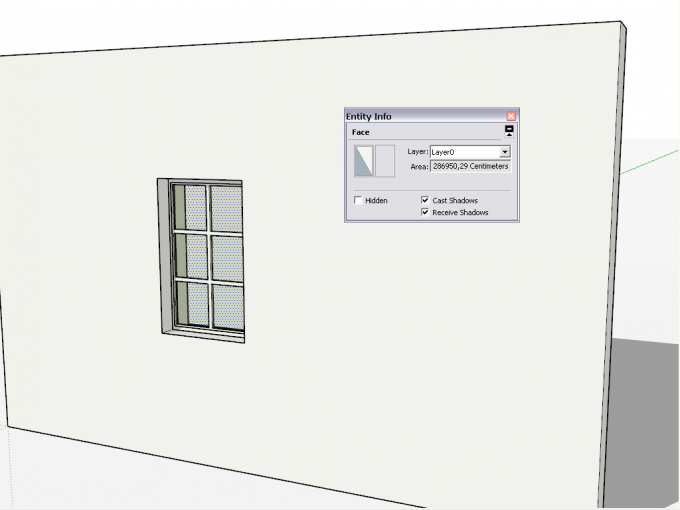
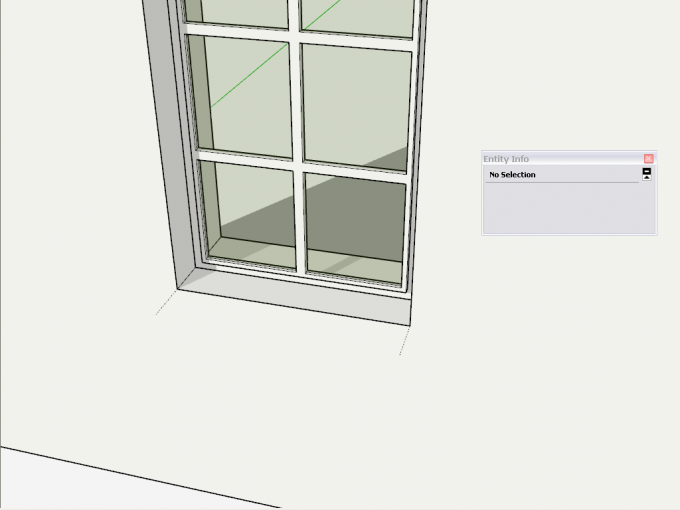
A very quick and dirty method can be to paint the back face material of the inner face of the wall with a completely transparent material. From now on, we can see through that face from outside and if we do not need more complex scenes or models (i.e. if a room only has windows on one of its single walls and we do not want to export images from the room itself), it can be an easy way to achieve a "pseudo-cutting component".
In the image above, the back face of the wall is selected (you can see the selection dots through the window). In the entity info box, the left thumbnail is for its front face (pointing away from the camera in this screenshot) and the right thumbnail shows the transparent back face.
In this little teaser video I made some time ago, you can see such a component in action. As you can see, I was trying to avoid showing the windows from inside as it would have revealed the trick.
Adding Another Component
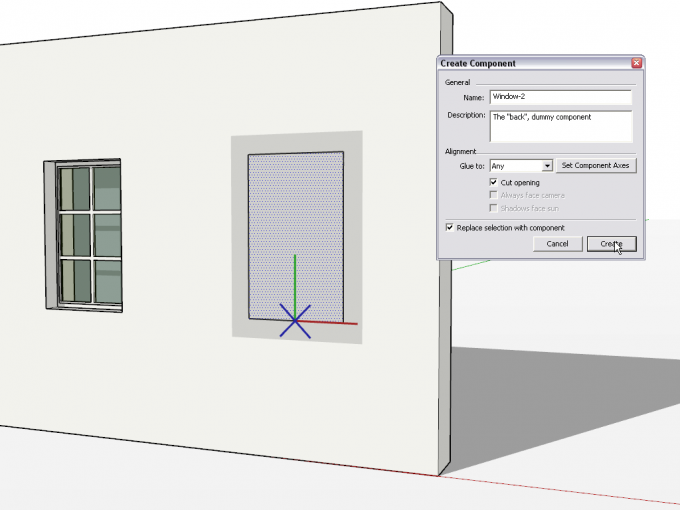
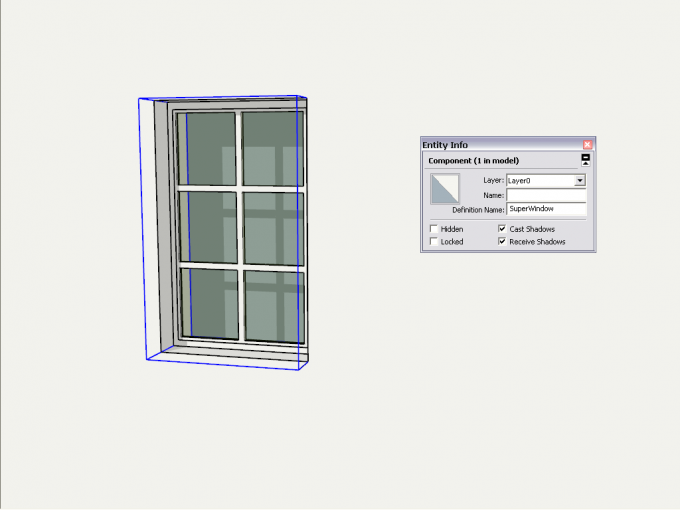
If we want to do it the "right way" however, we should consider some better methods. Below I drew a rectangle to fit the "back" of my component exactly, double clicked and turned it into a component that cuts another hole on the back side now.
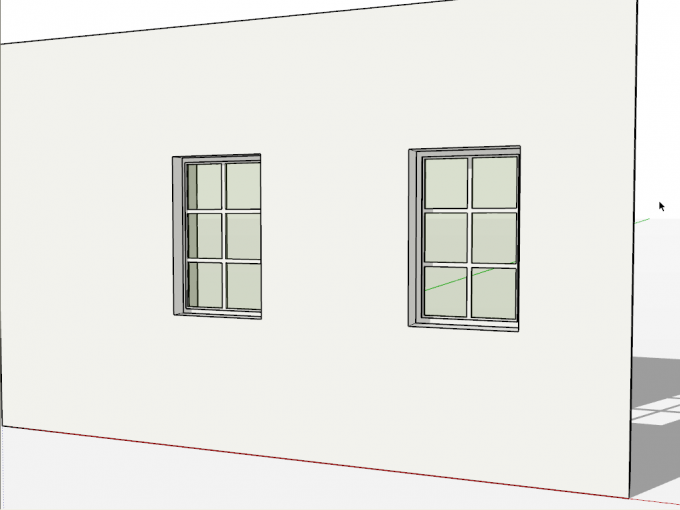
If you edit this new component and delete its face leaving its edges (completely co-linear with the back edges of the front component), you will end up with something now already cutting your other face, too.
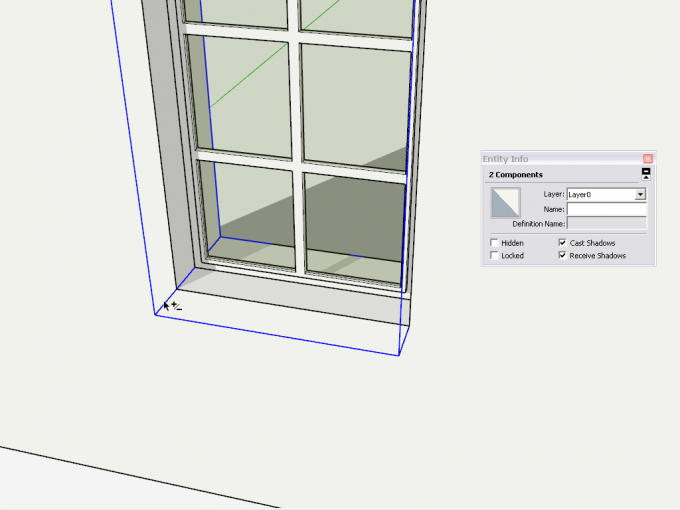
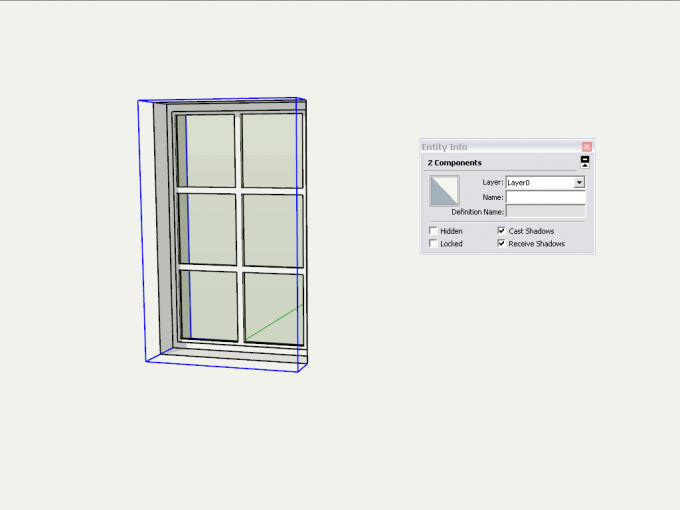
If you select both components together (in this simple scene, it is quite easy to select both with a left-to-right selection), you can also easily move them together.
Now of course the problem arises when your scene is more complex and you may incidentally select something behind the wall this way, too, and then move it around along with the components. We need to find out a trick that enables us to select both components easily.
Adding Some Dummy Geometry
For the below trick, credits go to Gerrit Hubers (aka Wo3Dan on the forums). You can add some dummy geometry (either on a hidden layer or hidden geometry itself) to both window components. These pieces of geometry should be accessible on the same side (here "outside") of the wall.
By clicking them with the Shift key pressed, you can easily select boith safely and move them around as you wish.
Nesting the Two Components
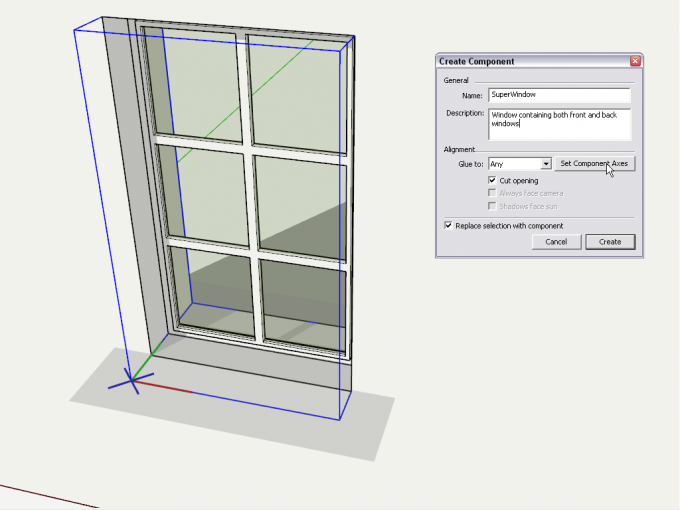
We can of course go further and make a nested component of the two. There will be some smaller issues but if you can adjust them to your workflow, they can be overcome. Once both components are selected, right click on them and make a "parent component". Set it to glue, cut a hole and first of all, make sure that "Replace selection with component" is checked (it will not be by default).
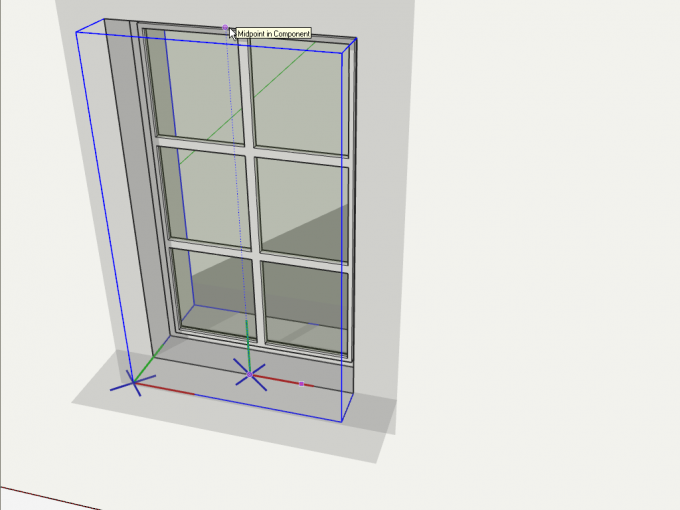
Now there is some problem however on the above image. The component axes do not nicely align with the face they should cut the hole but differently. Before pressing the "Create button", make sure to set the component axes. For this most important step, credits go to Susan Sorger (aka sorgesu on the forums)
- First click to where you wish to establish the component origin (make sure it's on the edge or our previuos component - i.e. also on the face we are cutting)
- Next pull the red axis along this bottom edge
- Finally pull the green axis to snap to the edge of the first component - again, on the face we want to cut.
Now you can create your component. At this point it will lose its cutting feature on the instance you have been creating it. You can delete this and insert a new component from the Component browser.
Now seemingly we are still not at it as our current parent component (by SketchUp default) can also only cut a single face and the back face of the wall is not cut again. But if you explode this parent component (at a stage of your modelling work when it is not likely you want to move it anywhere), both child components will regain their cutting features like below.
If additionally (and temporarily) you also use the transparent back face method until you explode the parent component, you will have the ability to see through unti then as well. Also, if you keep the dummy geometry in both components, in a late phase of your modelling, after you have already exploded the parent component, you can still move the two around. Lots of choices.
Hole Punching Tool
Additionally to the above, sometimes a bit convoluted methods, our plugin guru, TIG has developed a plugin, "Hole Punching Tool" that can punch a hole on the opposite side of the wall (also adding an extrusion to the component to compensate for the difference between the wall thickness and the component depth). Some more observations on this plugin and the tips and tricks on using it with complex plugins will be the subject of another tutorial soon.


