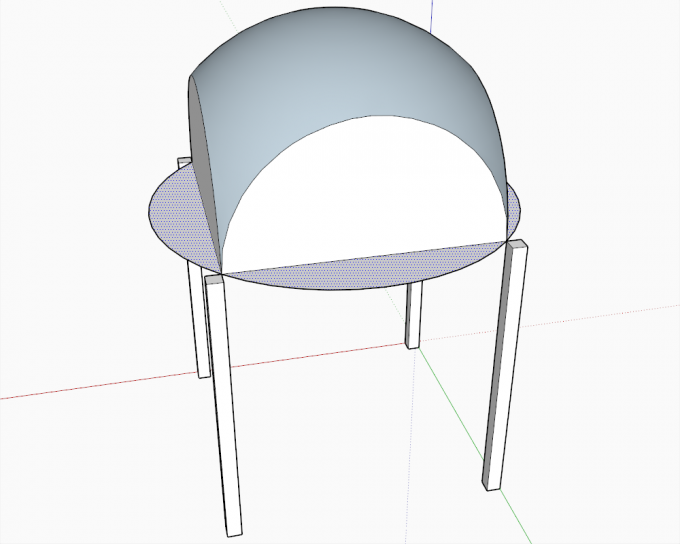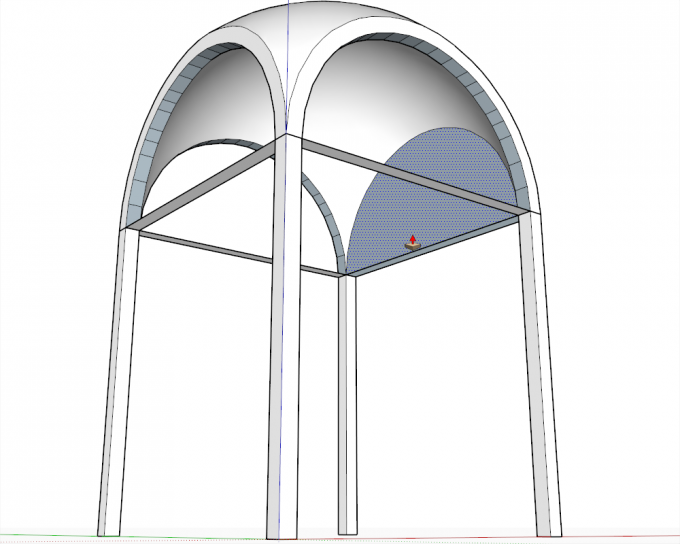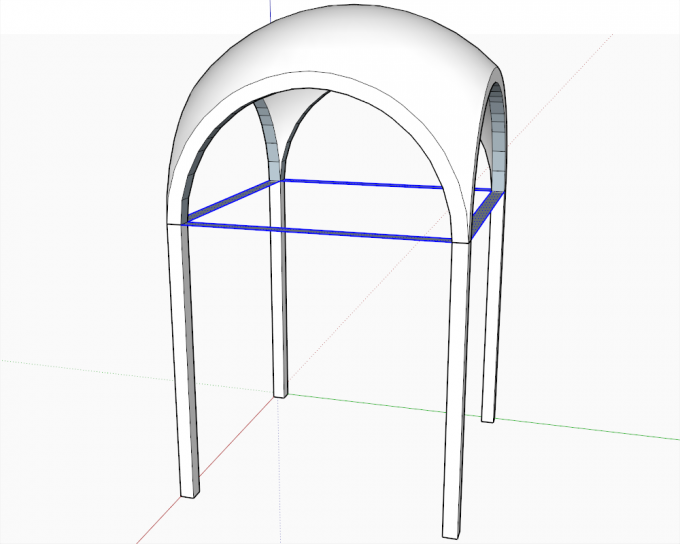
There are a wealth of different dome structures built during history. In this SketchUp tutorial, we shall examine the different steps towards developing a dome with (eventually) pndentives, a drum and a cuplola (in Part #2) as we can see them starting from Ancient and Medieval times up to the Classic revival (or Classicism) of the late 17th to the 19th centuries.
During the process, we'll use quite basic tools to build simple, basic shapes these magnificent structures are built up from.
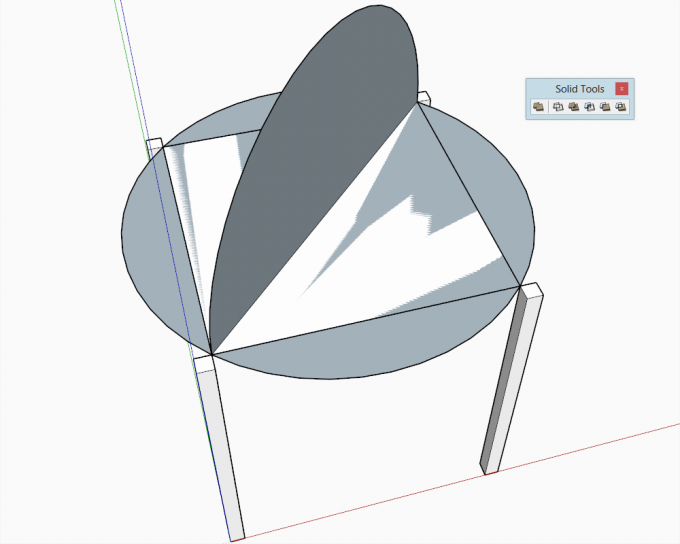
During this modelling session, it is again important to separate the boolean operations of the outer and inner shells of the dome, just like in the "Creating a Cross Vault" tutorial. Now I will demonstrate the use of the Solid tools (SketchUp Pro only) while modelling the outer shell and the traditional Intersect tools (SketchUp Free) when modelling the inner shell.
Setting up the Outer Shell
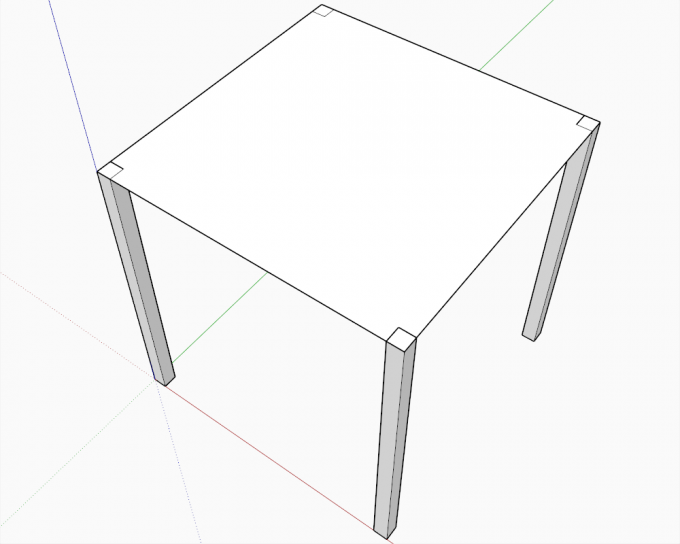
We start with four columns around a square again. Draw a square around the outermost corners of the columns and make it a group.
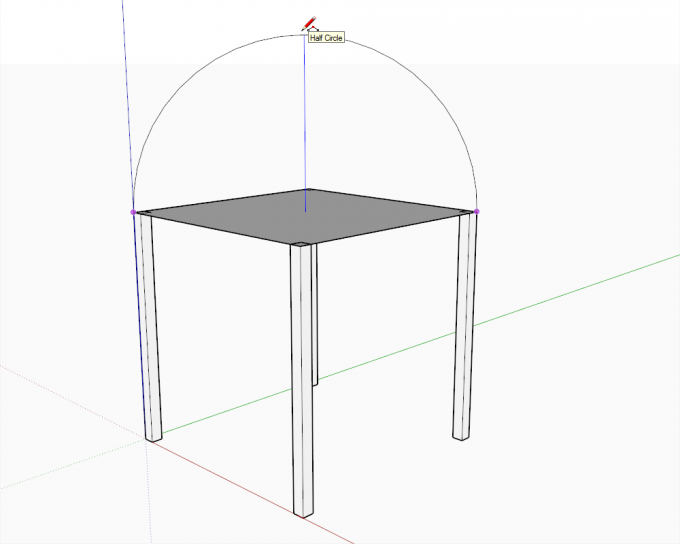
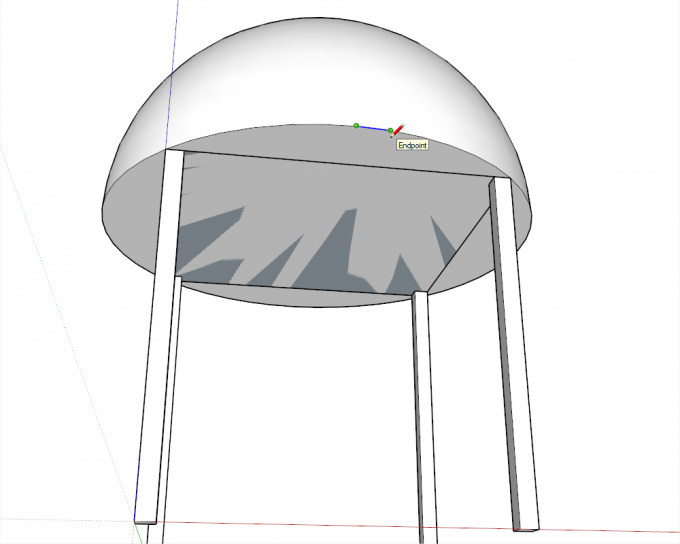
From the corners, draw an arc and make sure it is along the blue axis (see the blue inferencing line) and that it is a half circle.
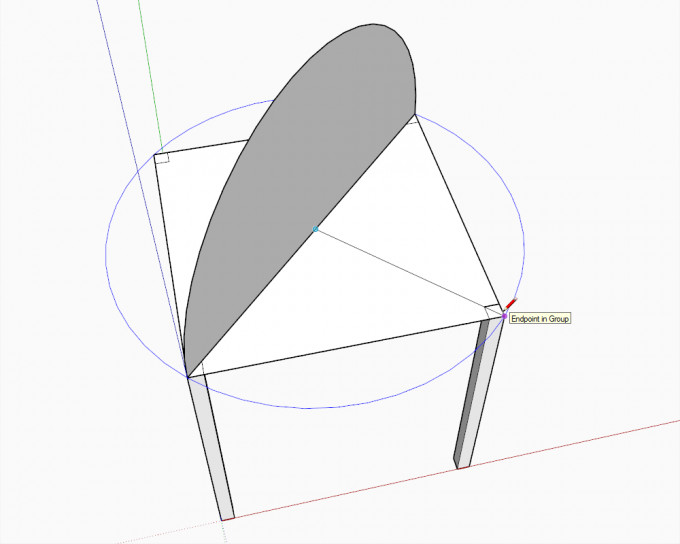
Connect the endpoints of the arc and draw a circle from the midpoint of the connecting edge to exactly the corner.
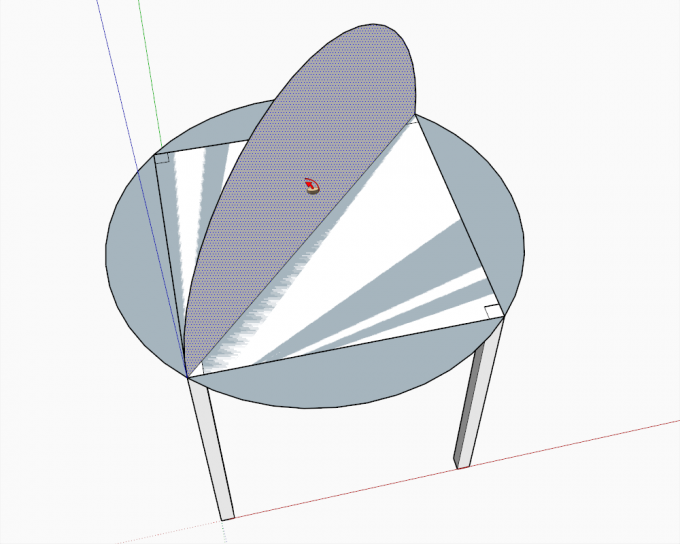
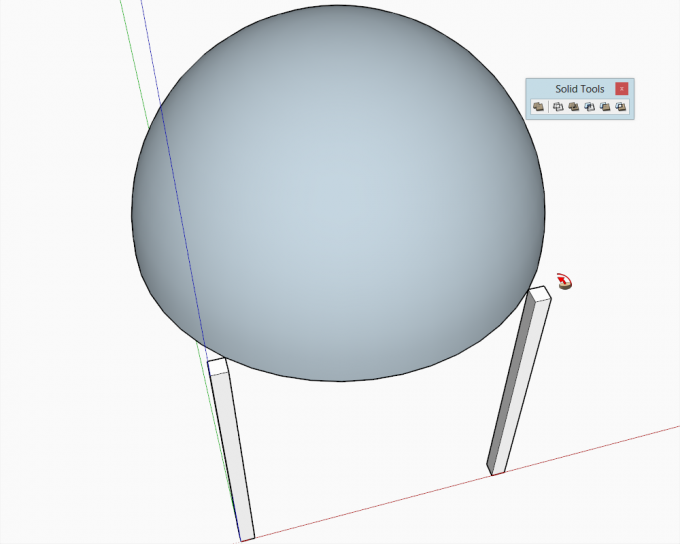
Select the edges of the circle and use the Follow me tool to lather the half circle around the circle to create the outer shell.
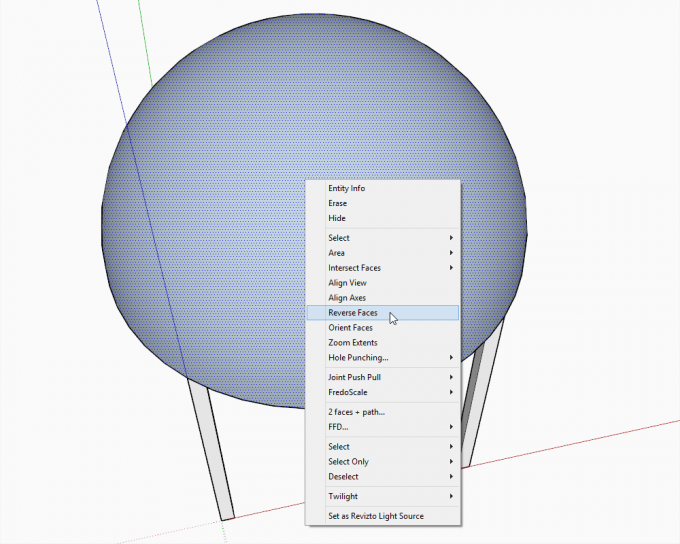
If it comes out "inside out" (i.e. the back face outside), right click and "Reverse faces".
This step is only needed if you do it with the Solid tools: redraw an edge on the perimeter to close the dome's bottom so that it will be a "solid" group in the next step.
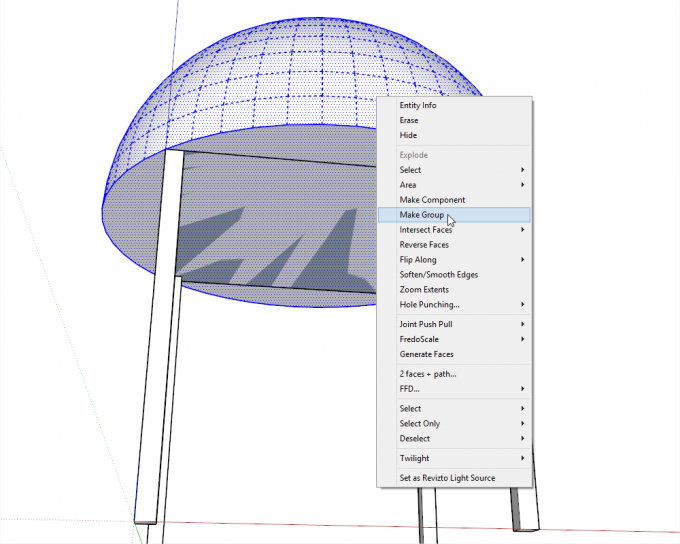
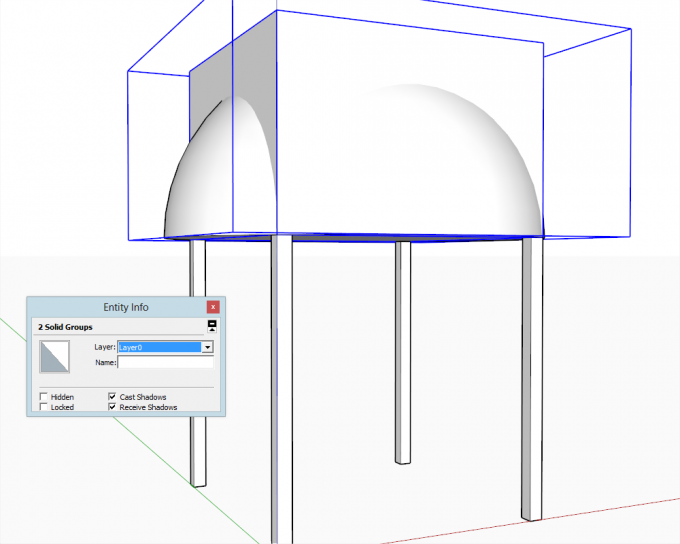
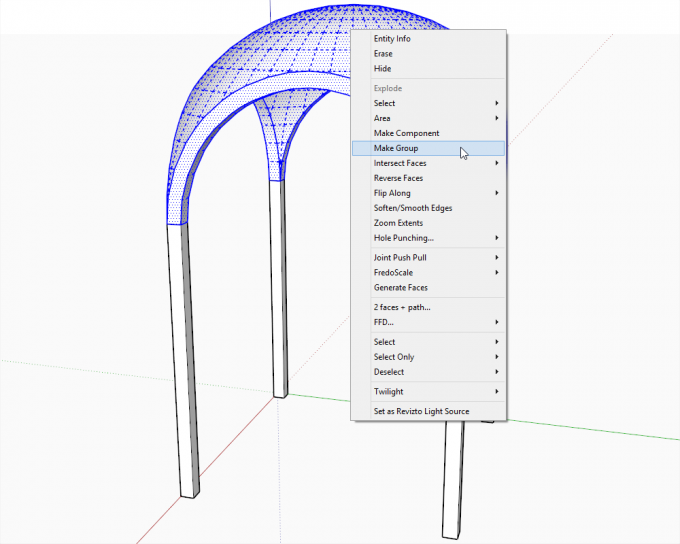
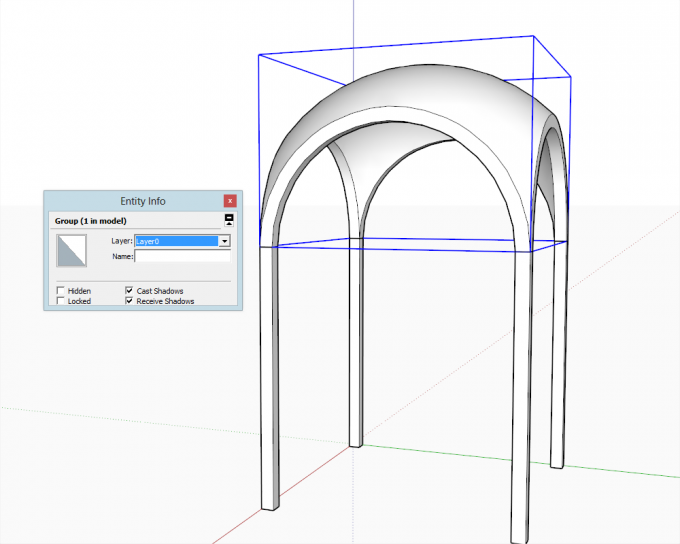
Select the whole dome (triple click on it) and make it a group.
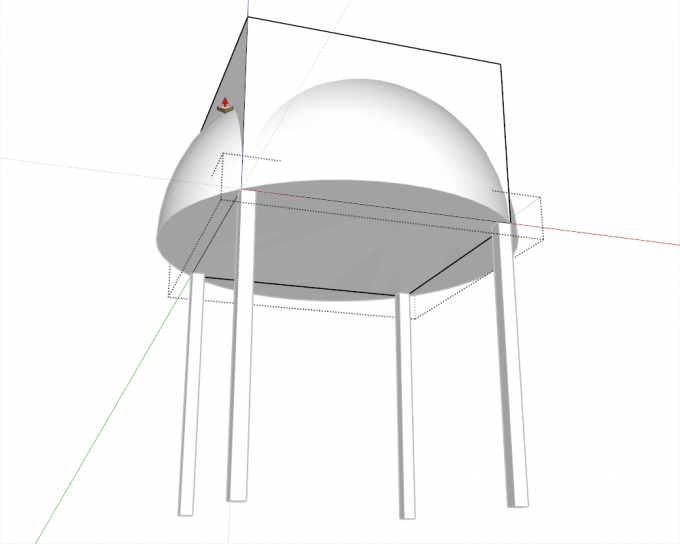
Open the group containing our rectangle and PushPull it up enough so that it covers the dome completely.
Now we have two solids to operate with.
Intersecting the Solids
If you have the Free version, you can skip this part and jump here.
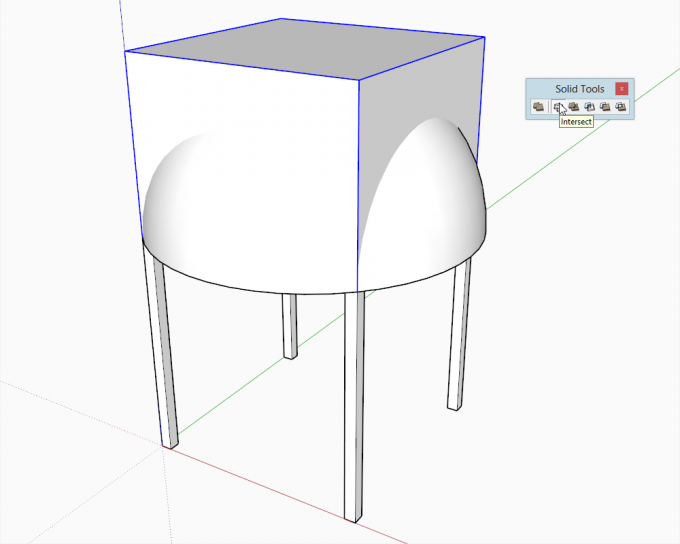
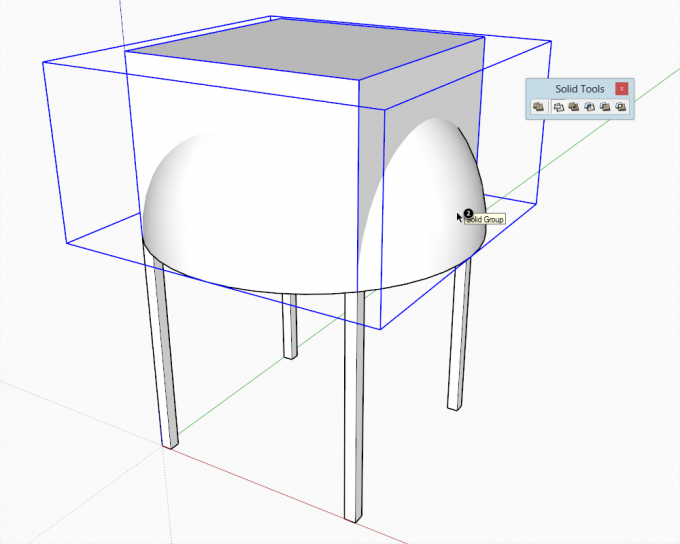
If you have the Pro version, select the box then the Intersect tool...
...and click on the dome.
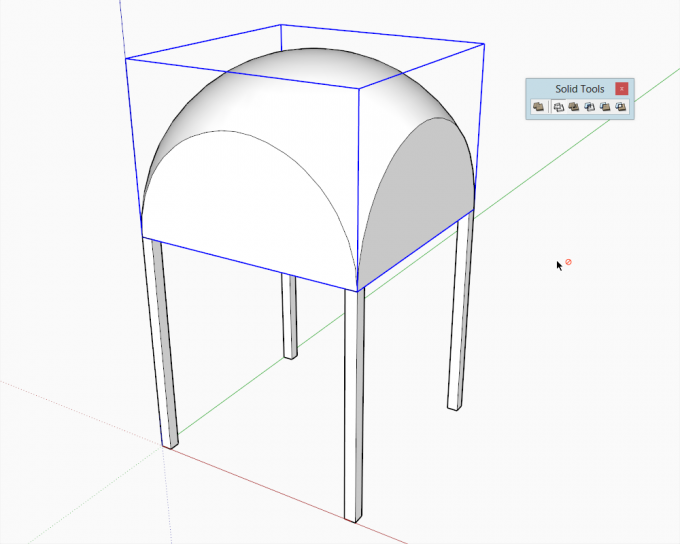
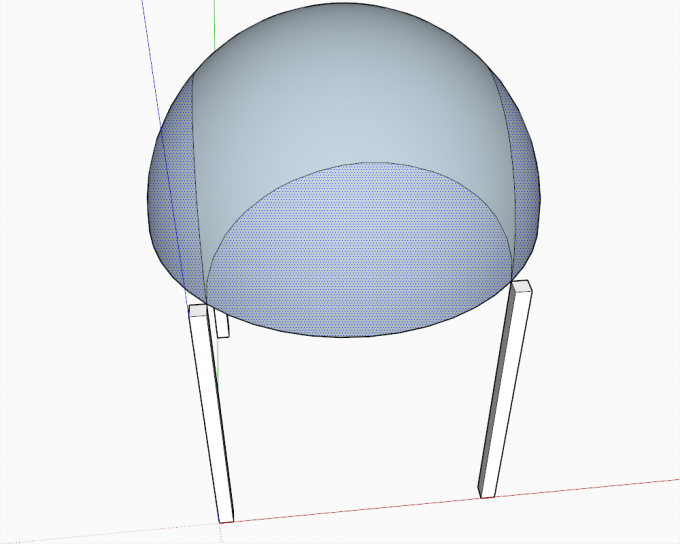
Here we are with our outer shell. Create a new layer, put this outer shell on this layer and hide the layer for the time being.
Setting up the Inner Shell
Repeat the steps under "Setting up the Outer Shell" only that now we draw everything snapping to the inner corners of the columns.
One thing is different: leave the back face upside now (as the front face surface of the dome will be inside, seen from below).
Intersecting with the Traditional Intersect Tools
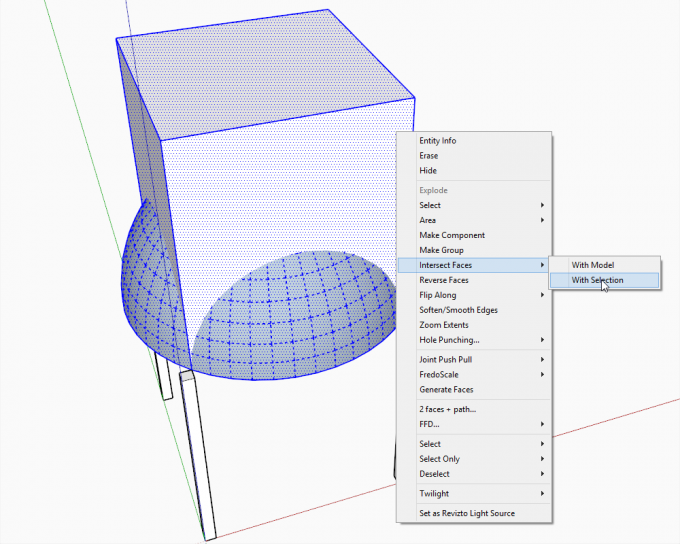
If you have the Pro version and use the Solid tools, you can now repeat these steps but if you wish to practice the traditional intersect tools (as we sometimes need to work with non-solids) or you have the Free version, explode both groups, right click and "Intersect with selected" (although in our case "with model" would just do the same).
Now comes the tedious part: I have already removed the upper, remaining parts of the box. Select these side surfaces and delete them.
Select the remaining parts of the face of the bottom circle (if there is any at all since for this part we did not need to create it)
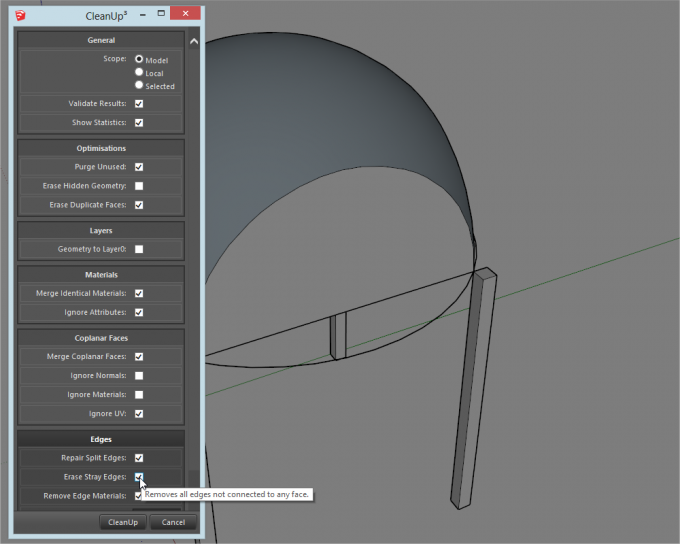
The remaining, stray edges are tedious to clean up so use ThomThom's Cleanup Plugin to get rid of them
Removing the Side Panels
When done in either way, turn on your hidden layer with the outer shell and explode everything.
From inside out, start PushPulling the inner half circles. Make sure to snap to an outer edge or endpoint so that the PushPull tool stops exactly there and will cut the outer face properly.
After the first PushPull (which establishes the distance you PushPulled), you can simply double click on the other faces to speed up this operation.
Finally select the remaining faces and connecting edges and delete them.
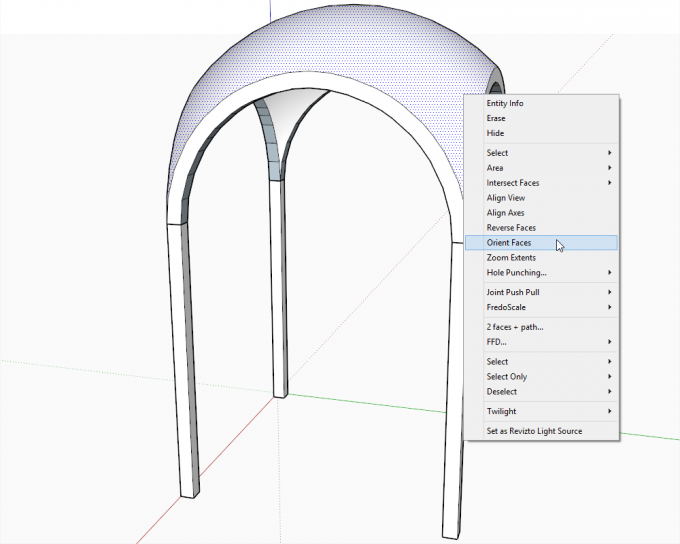
A little clean-up: right click on a front face and "Orient faces" to reverse those back faces under the arches.
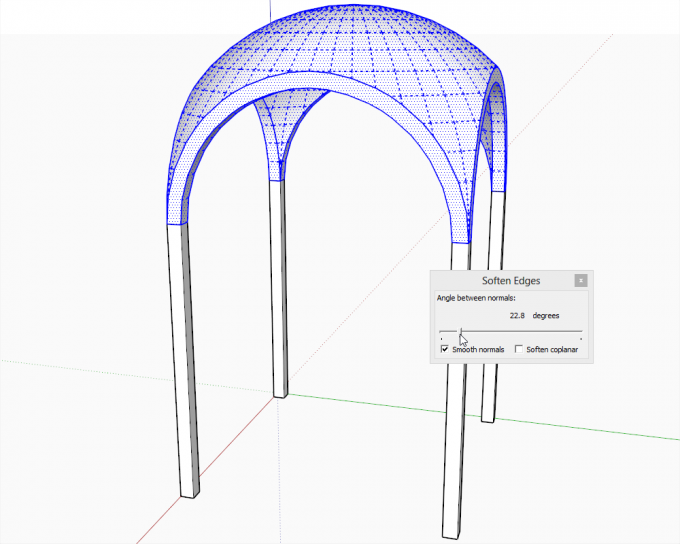
Select all (triple click), right click again and "soften/Smooth edges; you will probably only need to "touch" that slider a bit to soften the hard edges under the arches again...
Group the whole thing...
...but notice that it's not a "solid"
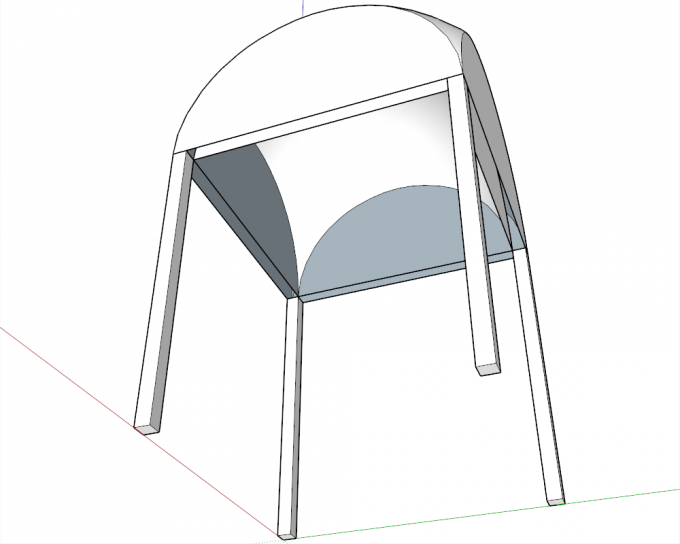
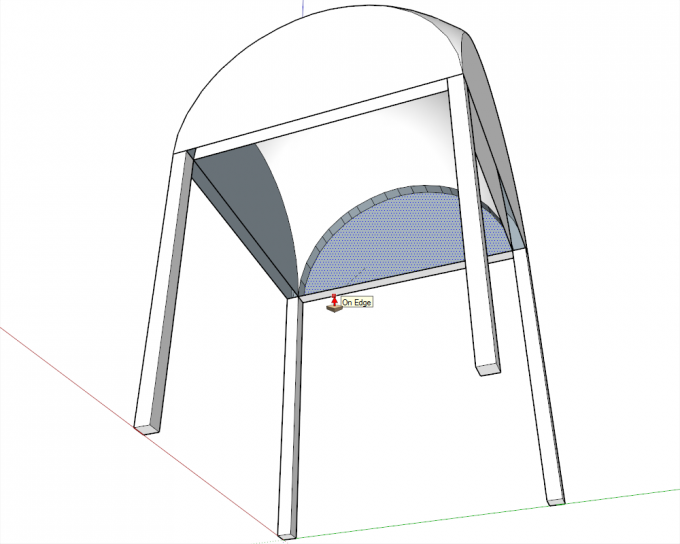
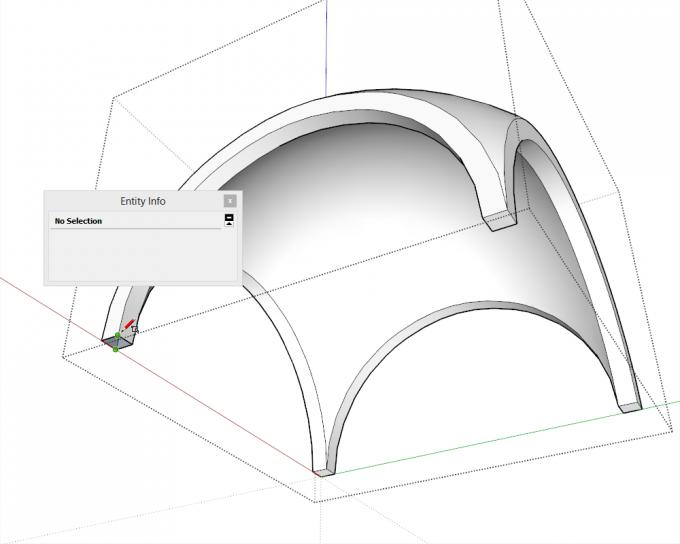
Hide the columns (or see my tip at the end of this tutorial), open the group and cover the bottom of the "legs" of the dome.
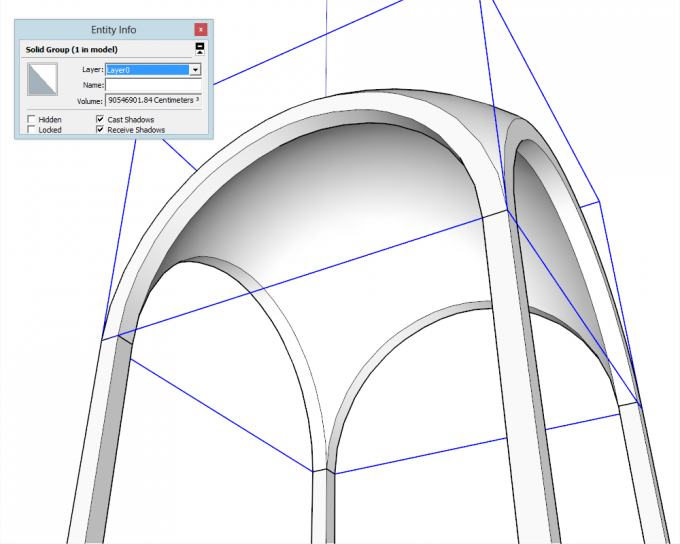
Now it is nice and solid...
This dome could be called a "hanging dome" (the English term "dome on pendentives" comes from the Latin "pndo" meaning "hang") but this bare kind of dome is rare in architecture however (or combined with cross ribs to form a so called "Romanesque cross vault" like in the Basilica of St Ambrose in Milan.
There is a setting under Window > Model info > Components to hide similar components (or groups) or the rest of the model while editing one. Now of course it is a tedious thing to open this panel every time you need it but you can easily assign a keyboard shortcut to these functions under Preferences > Shortcuts. I have Ctrl+H to hide the rest of the model and Shift+Ctrl+H to hide similar groups/components while editing one. This can speed up modelling parts that are covered by other objects - or inside a complex model generally.

Registered members can add their thoughts and ask questions in this forum topic.


