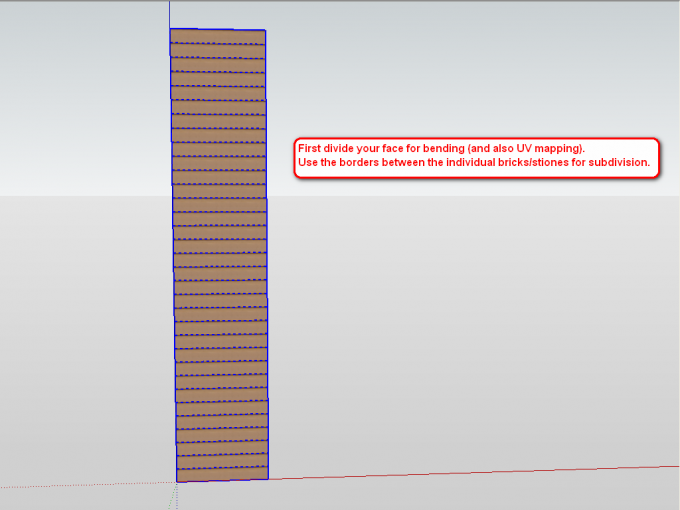
Subdividing the face(s)
Our first step is to draw a single face or a rectangular prism that we want to "bend" as an arch later. We "subdivide" this face/prism simply by copying the bottom (or top) edge(s) in a linear array along the dace/prism, distributing the copies evenly. The reason we need to do this is that UV Toolkit need to have exactly the same amount of faces to copy - and then to paste - the UV informtion later so we have to have these faces prepared already before bending.
At this stage, we can already soften these dividing edges (like in the picture where you can see them dotted selected) but it can also be done at the end.
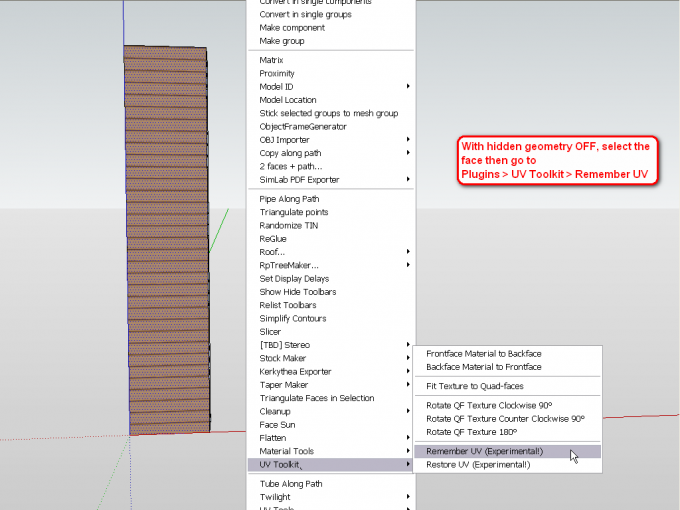
Remembering UV's
Now select all the face(t)s, go to the Plugins menui > UV Toolkit > Remember UV menu item. This will make sure that adter the bending (and restoring the UV co-ordinates), the texture will "stick" to where it is now.
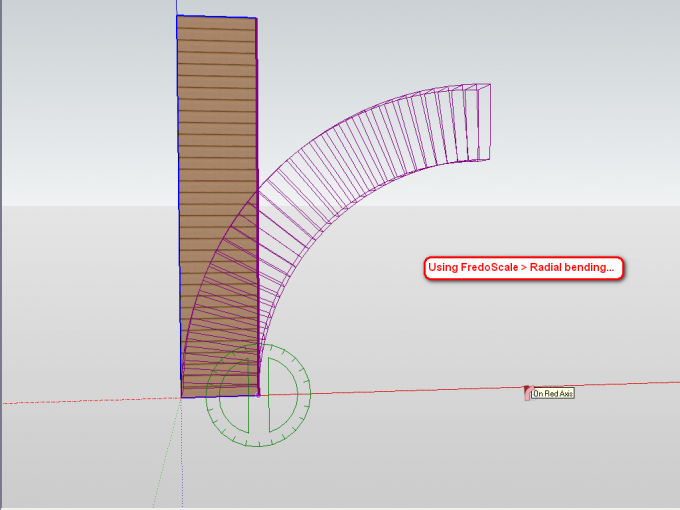
Bending the Arch
Now use FredoScale Radial bending to bend the arch. Make sure that "Slicing" is off (right click with the tool and see the menu item there - or use the TAB key to launch the dialog). This is extremely important because if slicing is on, FredoScale will further subdivide the shape and we will end up with a different number of faces than what we began with and the UV Restore function will not work.
It is enough to bend 90 degrees as we can mirror the half arch later.
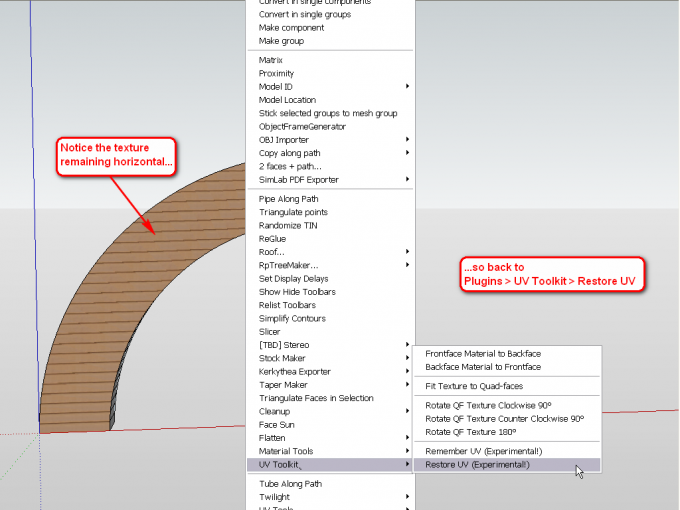
Restoring UV's
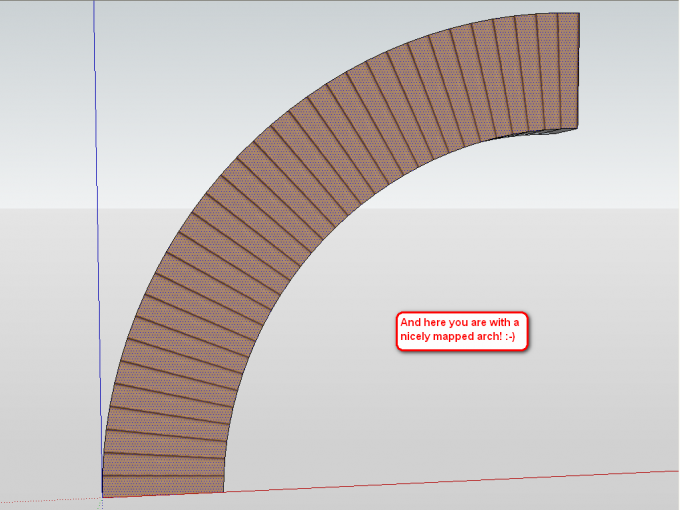
At this point, our texturing does not show too much. We need to restore those UV co-ordinates that we "remembered" in Step 2. Select all the faces again, go to the Plugins menu > UV Toolkit > Restore UV. If everything goes well, you should end up with something like this:
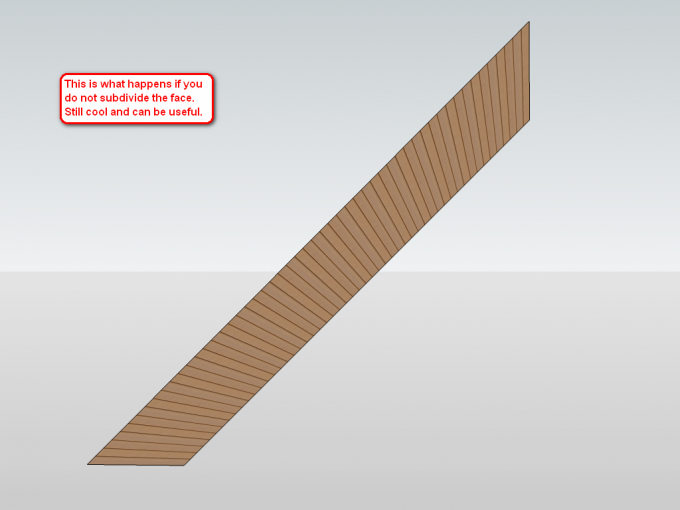
If you missed to subdivide the shape before applying the UV Toolkit plugin but have slicing turned off in FredoScale, your resulting shape and its texuring will look something like this:
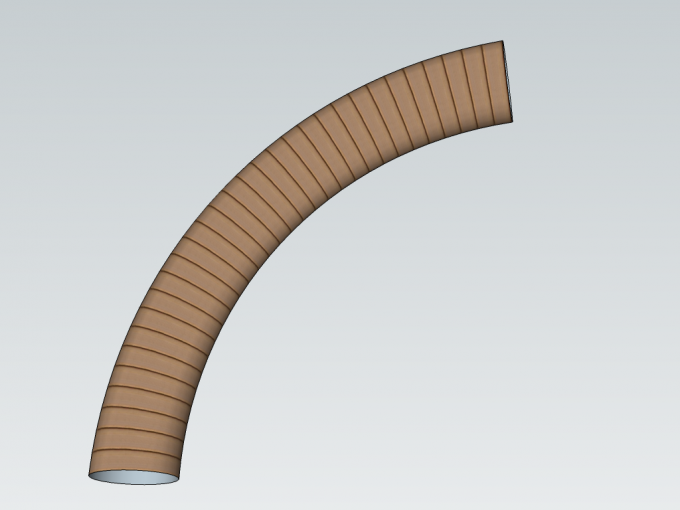
If you want to UV map some more complex shape like a tube, also make sure to even triangulate the faces after the initial subdivision as it is almost sure that some additional faces will be created during bending. There are several plugins to do this, like this one or this one for instance. Here is an example of a cylinder bent:
Another example with a bent and twisted shape perfectly maintaining its UV mapping after restoring (triangulation is also needed here):
Finally an example of a candy cane model in the 3D Warehouse (I think the stripes are a bit dense there but you get the idea).
Most rendering engines do not handle materials distorted in SketchUp and/or the exporters often "explode" these distorted materials into zillions of small pieces which makes it imposible to tweak them in 3rd party applications. If you are planning to render your model or export it as dae, fbx and such, make sure to always triangulate from the very beginning because this will export the materials in one, manageable piece.Twilight Render and Thea Render handles these distorted materaisl without any unnecessary triangulation however.


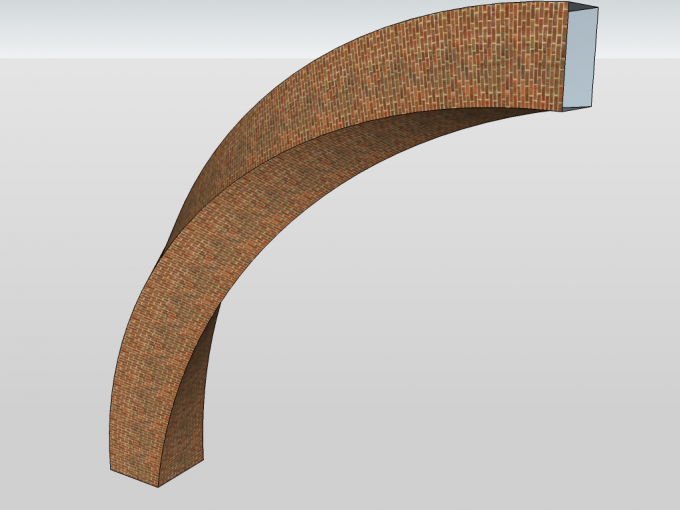
 In this tutorial, we shall go through setp-by-step, how to distort a material to follow a curve. The example will be an arch but it can of course be anything. In this tutorial, we use two plugins (note that both need some additional plugin libraries installed):