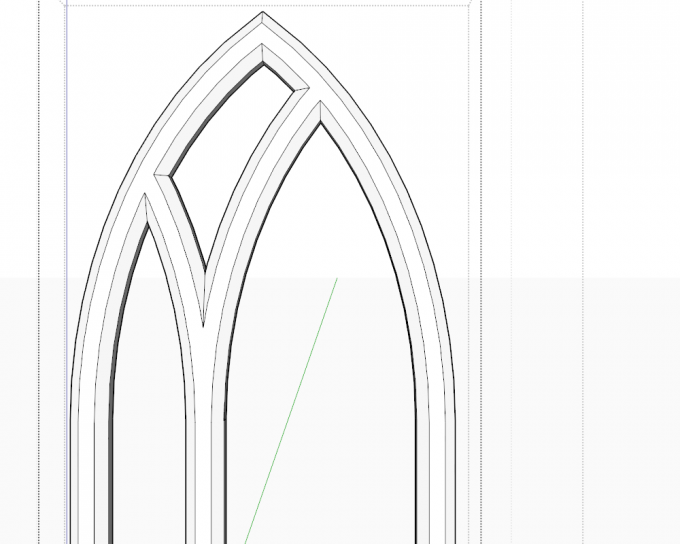
Copying the Window frame
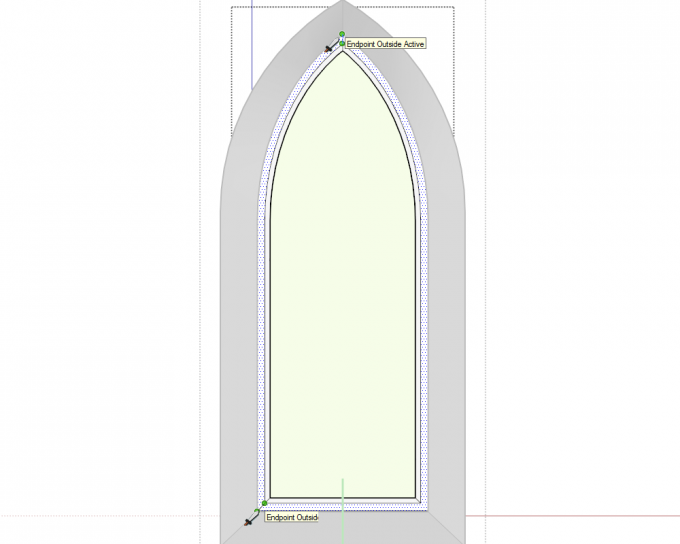
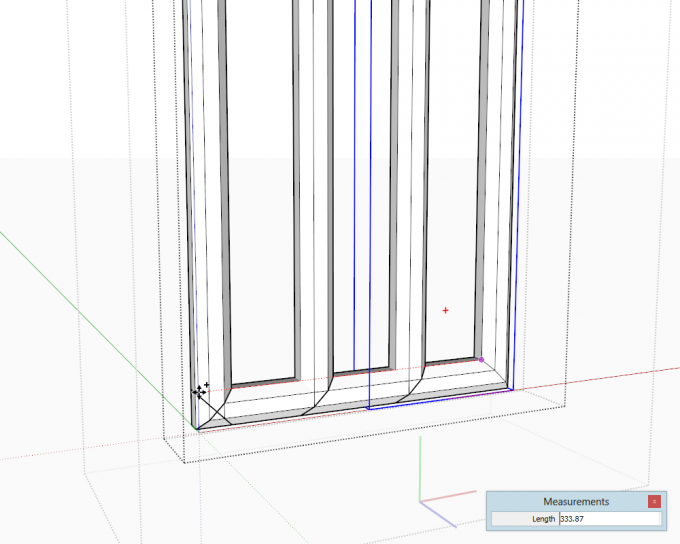
Firs, draw the connecting edges for the endpoints to separate the face of one of the sides of the frame. Below I am using the Knife tool of Artisan (this tool is also freely available as "Zorro" in the Plugin store). You could also use TIG's Split Tools (Split Donut). If manually splitting, make sure to draw the edges on the other side, too.
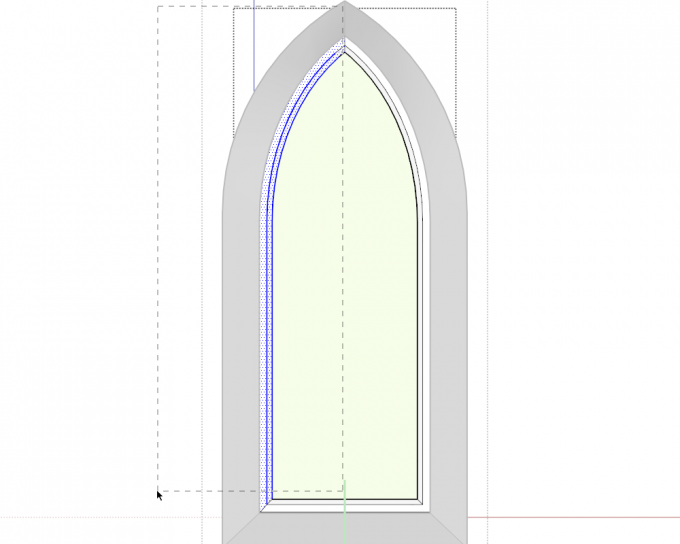
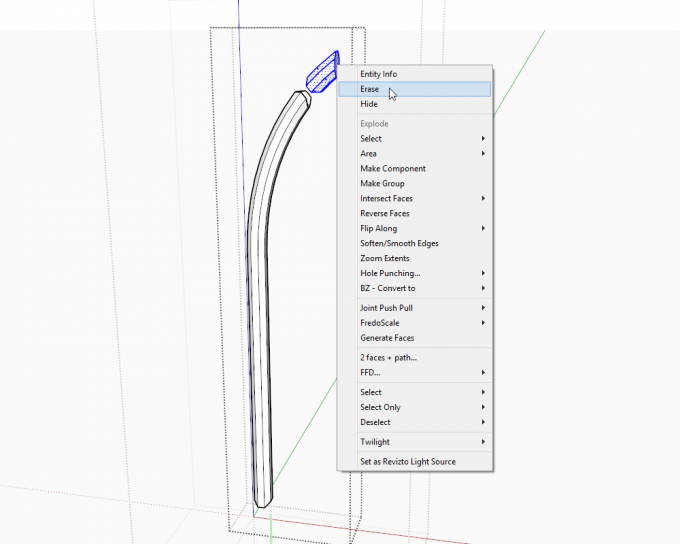
When done, with a careful right-to-left selection box, select one side. Copy it (we'll paste in place later) and make a group of your selection.
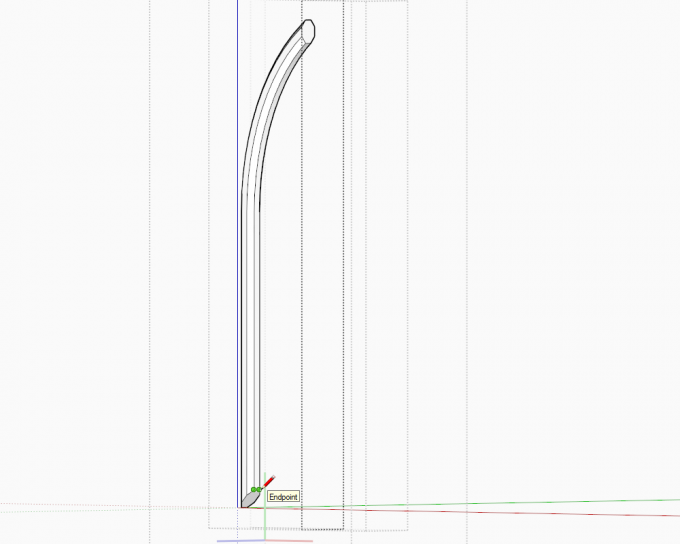
Edit the group and close the ends of the tube (so that it's a solid).
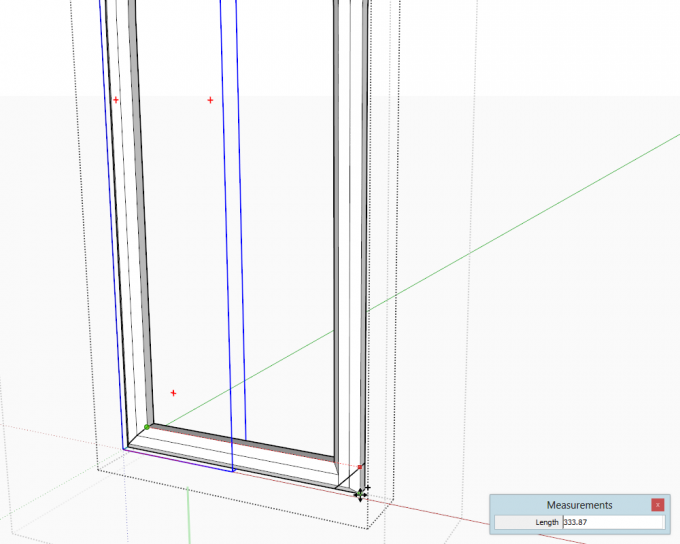
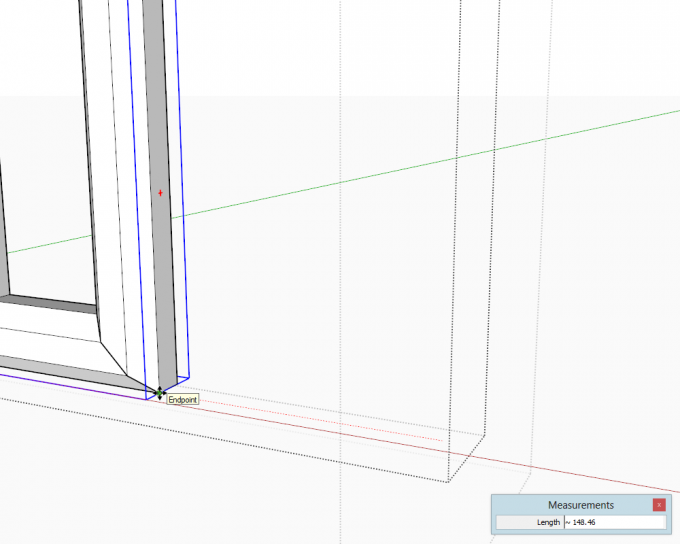
Make a copy of it using the Move tool and snapping to the other side of the frame.
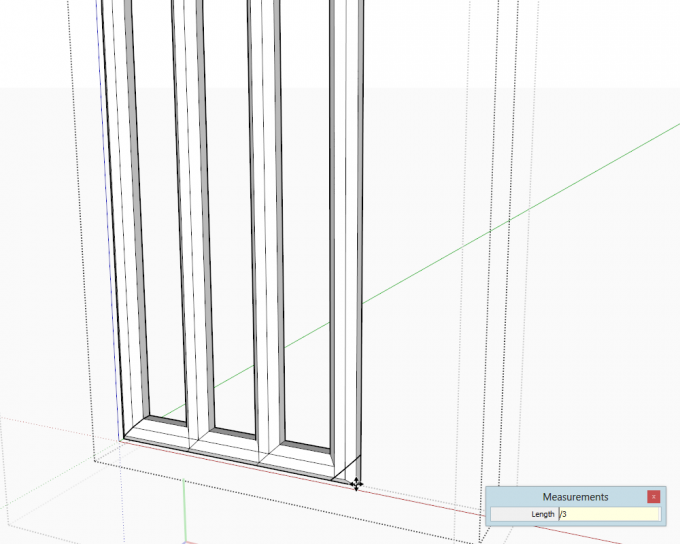
Type /3 and press Enter (you can use other number of copies, too). Now we have a nicely and evenly distributed array of these copies.
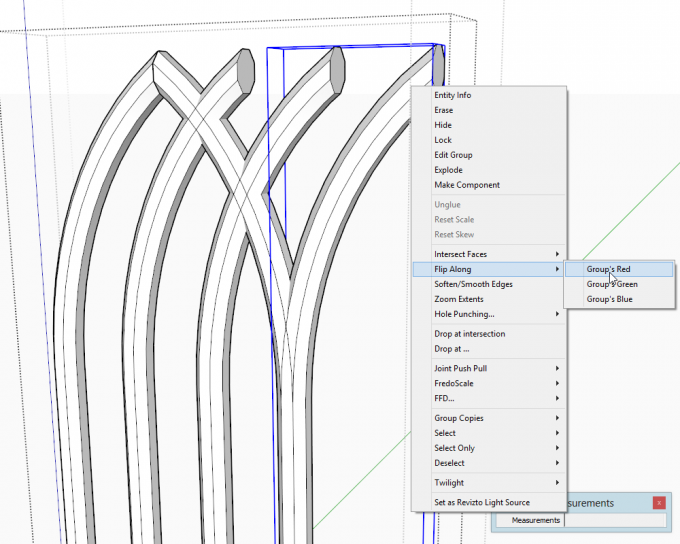
Since we do not need the very last copy, we can use it to do the same array of copies in the other direction. Right click and "Flip along... (in my case) Groups Red (axis)".
You will need to move it back to our initial position (again, be very precise when selecting endpoints to grab the group and when selecting endpoints to snap it to).
Do the array in the opposite direction, too.
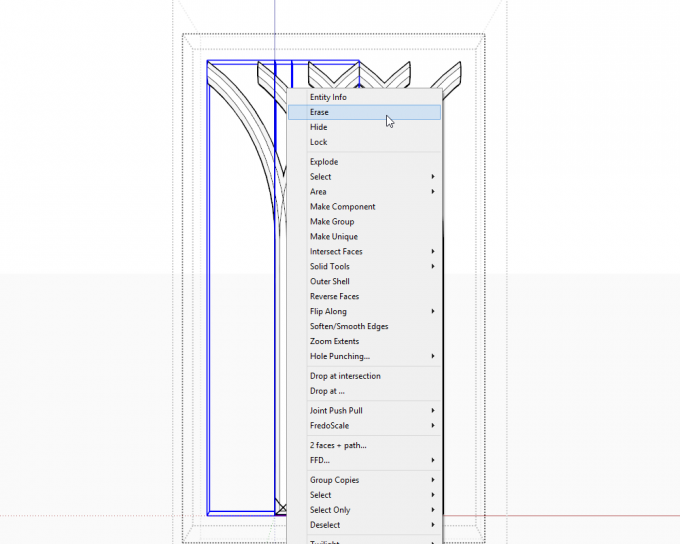
Now you can delete the very last copy - here I am also deleting the very first one - then do not forget to enter the original frame group and Paste the left side of the frame back - you can even delete the dividing edges we made in the very first step above.
This step is needed to get our original frame group back into its solid state.
Using the solid tools
Free users may skip this part and jump immediately here (or use some other boolean plugins - note that AFAIK Whaat's Bool Tools work the other way round and you need to change the order of clicking - experiment...)
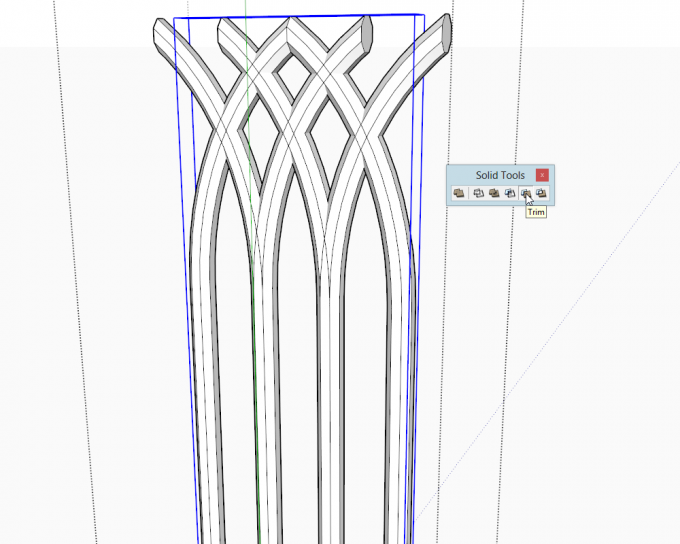
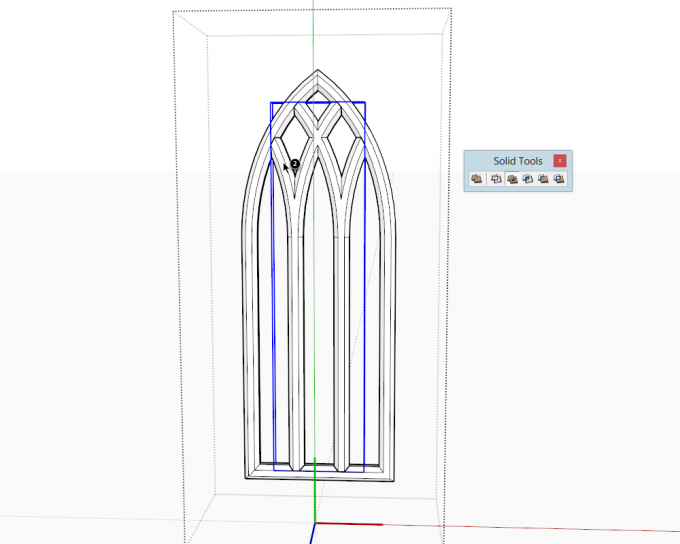
Pro users: select the frame first while the Trim tool is active...
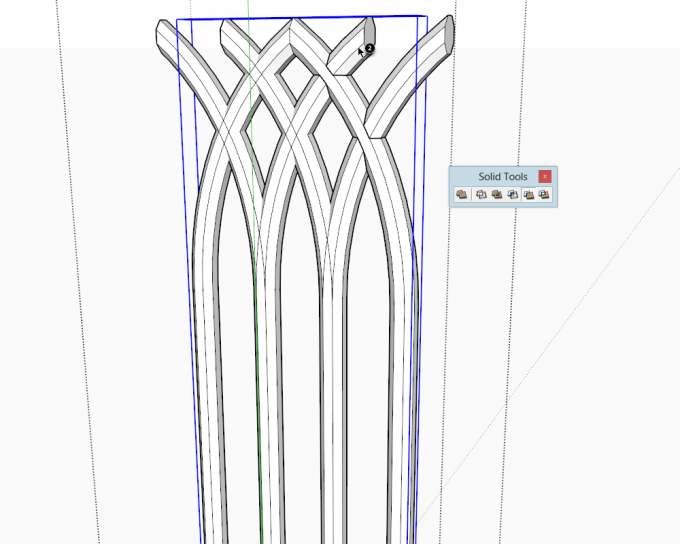
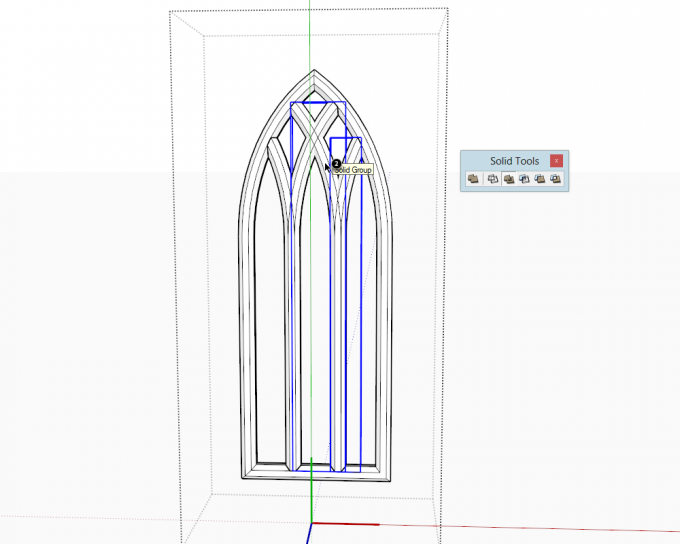
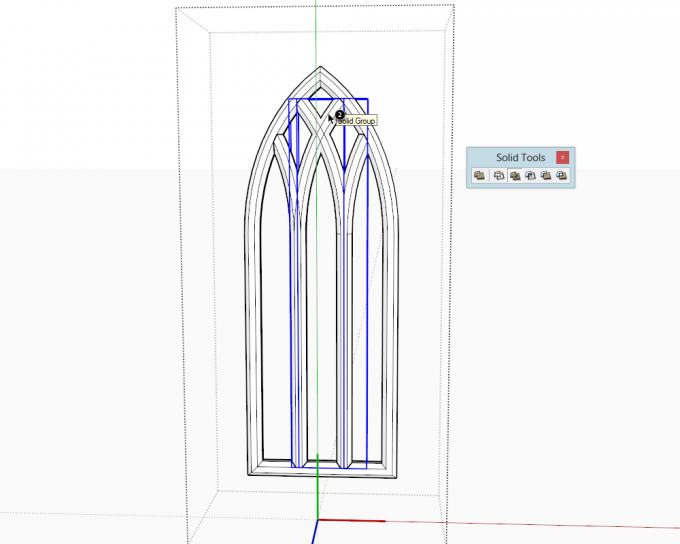
Then start clicking on each of the four, additional groups (my screenshot below is at group #2 from the right - you can see the intersection edges already created).
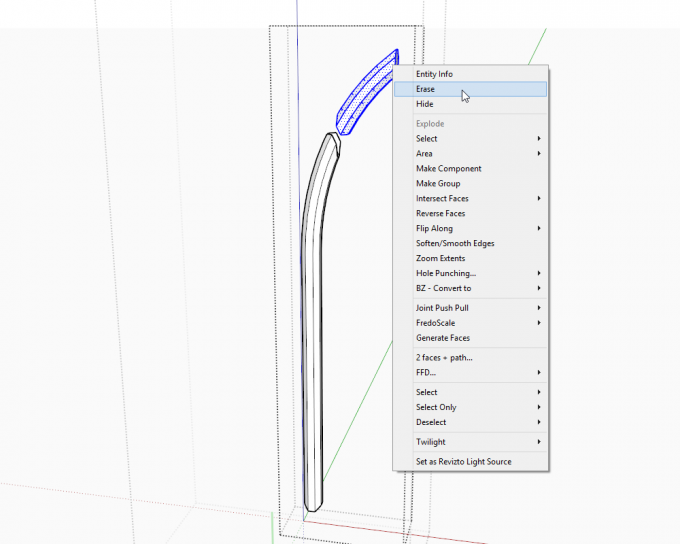
When done, edit the groups, triple click on the separated piece to select all its geometry and delete.
Another one "in action". Tip: if you simply triple click on the group (at where you also want to select the geometry), you need not double click first to open the group and then triple click on the geometry but SU will automatically select all that is connected.
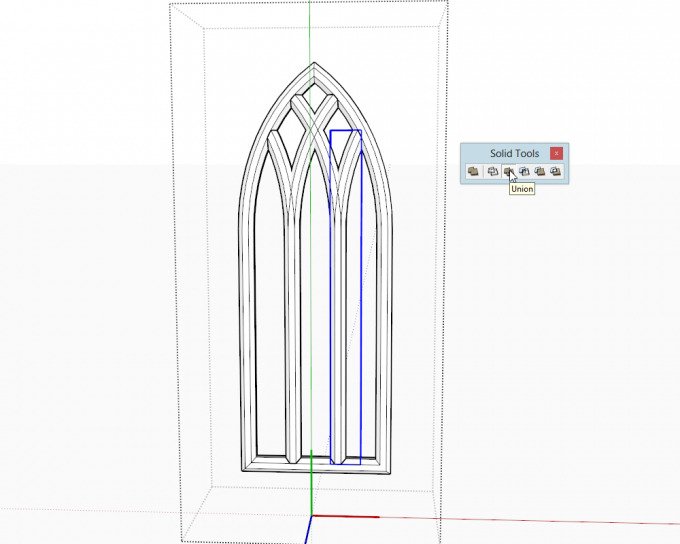
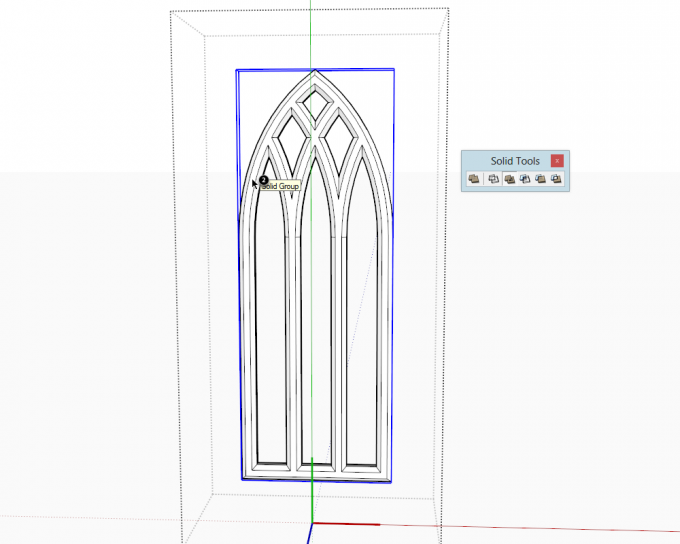
This is what we get so far. Now we'll use the Union tool - and now the order of clicking is indifferent.
Select one of the groups and keep clicking on the other others until you are done.
Still a bit of clicking...
The last click
And voilà...
Using the Intersect tool
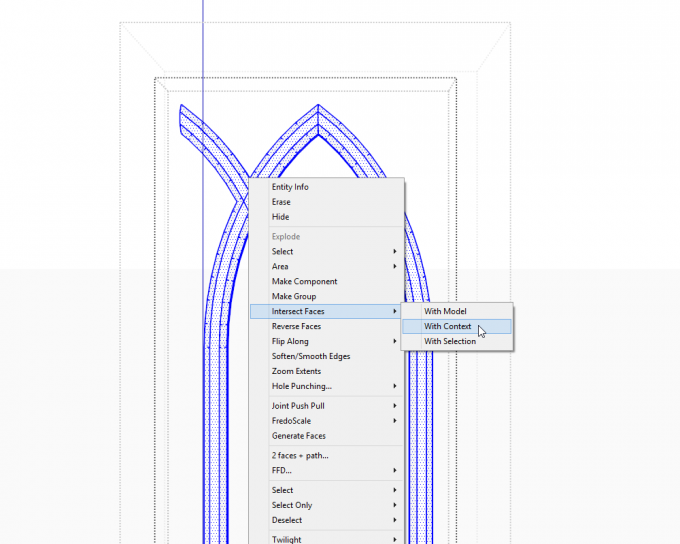
In this case, first we need to move the raw geometry into the same editing context. Select a group of the four, new groups, cut it (Ctrl+X), edit the window frame group and Paste in place. Explode the pasted group, select all, right click and "Intersect with... Context" (in order to avoid other, outside geometry to interfere and create intersection edges here).
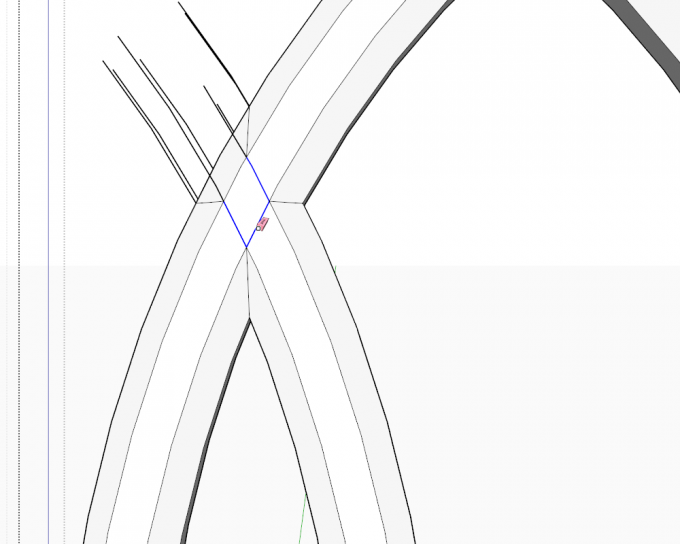
With a right-to-left selection box, select the faces that "stick out" of the inserted group from the frame, delete them and start cleaning up your model. Unfortunately, some inner faces have also been created so cleanup plugins, though can help with most of the stray geometry, will not be enough.
Add the groups in a similar fashion one by one and intersect > clean-up... Here it is with already two groups cleaned up. You can add more at a time, too, but you may risk a lot of geometry to be created unnecessarily thus making you a double job during the clean-up process.
Registered members are welcome to discuss the tutorial on the forums. The model is accessible for download in the 3D Warehouse.


 / (
/ (
