In this SketchUp tutorial, we shall demonstrate the work-flow on how to model a cross-vault (in this case with semicircular vaults) or "groin vault" in an efficient way, avoiding problems that can occur as well as providing tips for more logical and efficient organization of the model.
Here the Solid tools cannot be used for boolean operation so all these things will be accomplished by the "traditional" Intersect tools, namely the "Intersect selected" operation only (as we are modelling with vault thickness).
Setting up the Layout and Modelling the Barrel Vault
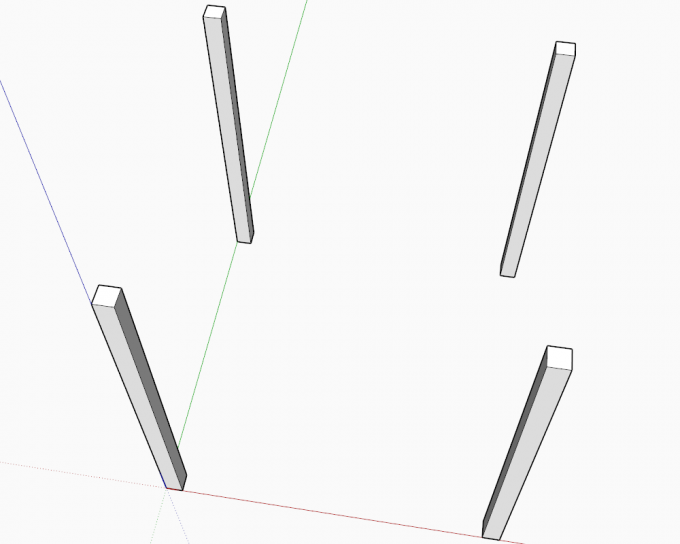
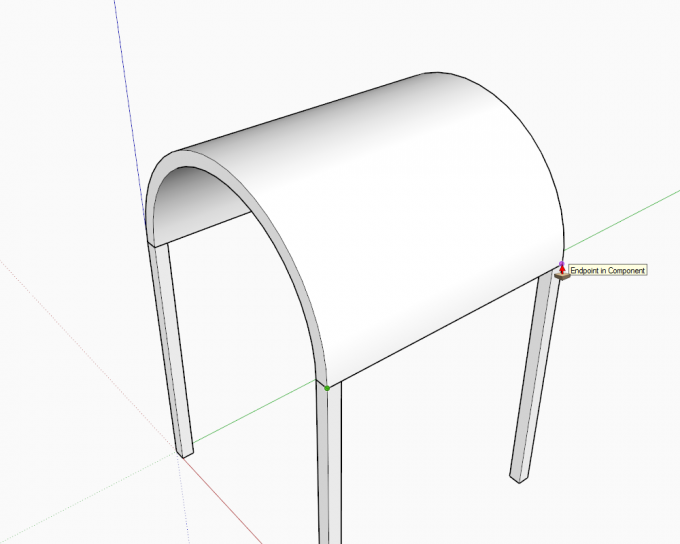
Cross vaults are the intersection of two, crossing barrel vaults usually in a right angle. Traditional cross-vaults (with the same span and height of the barrel vaults crossing). If the span (width) of the two barrel vaults are of the same size, the layout of a cross-vault is placed on a square. In the below image, I have already placed four columns laid out on a square pattern. They are instances of the same component definition rotated around the rectangle..
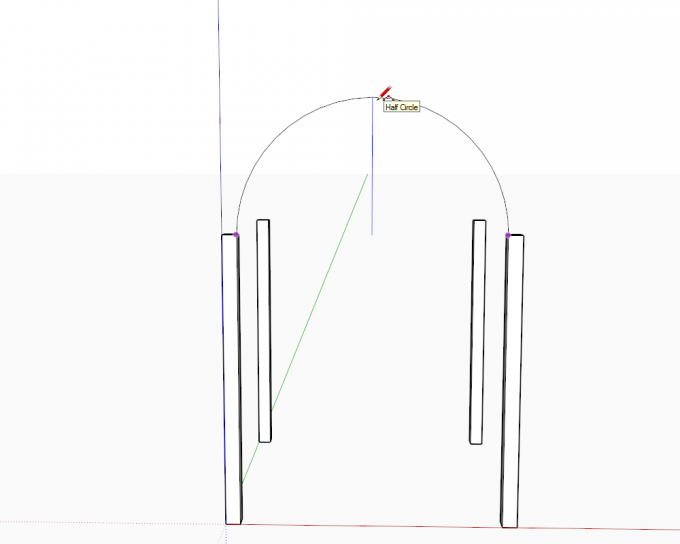
Let's start drawing an arc (half circle) along the blue axis (see the blue inference line) from the inner corners of the columns...
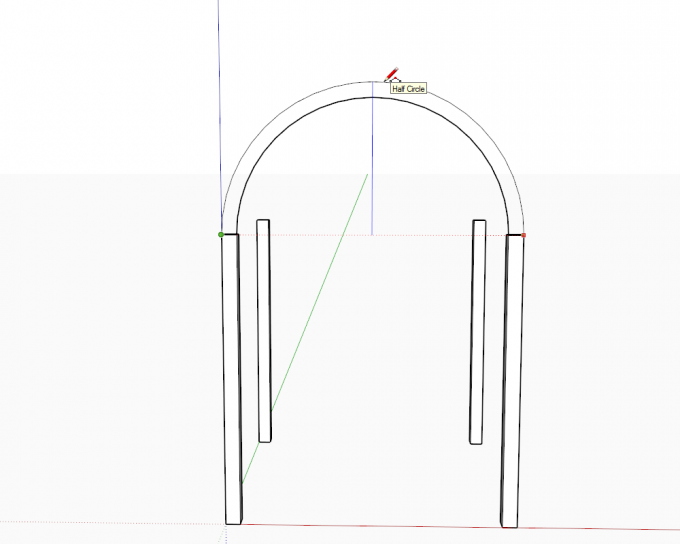
...then carry on with the outer arc.
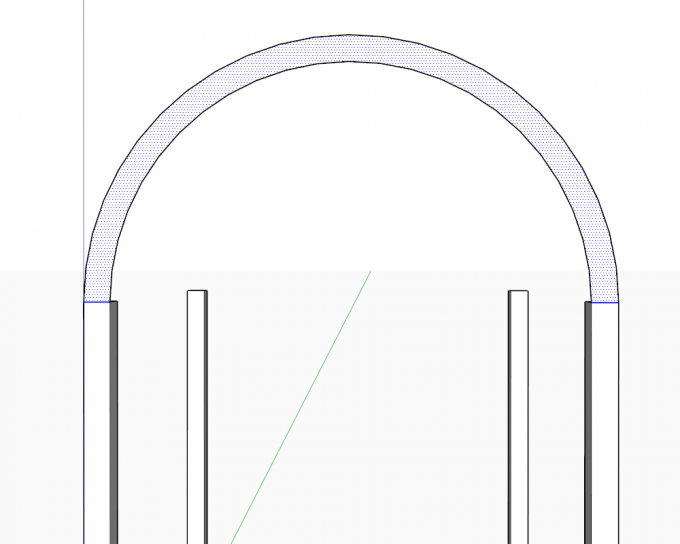
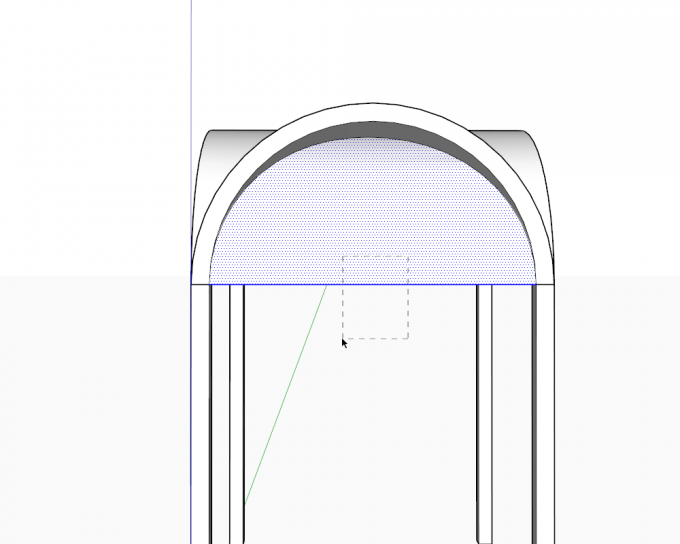
Now with the line tool, close the two arcs (see highlighted edges) so that we get a face.
Now PushPull this face to the extreme endpoint of the opposite column - we have now created our first barrel vault.
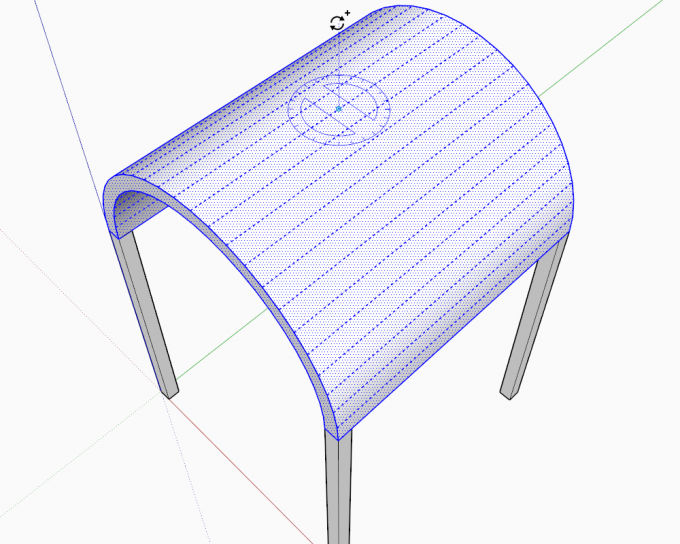
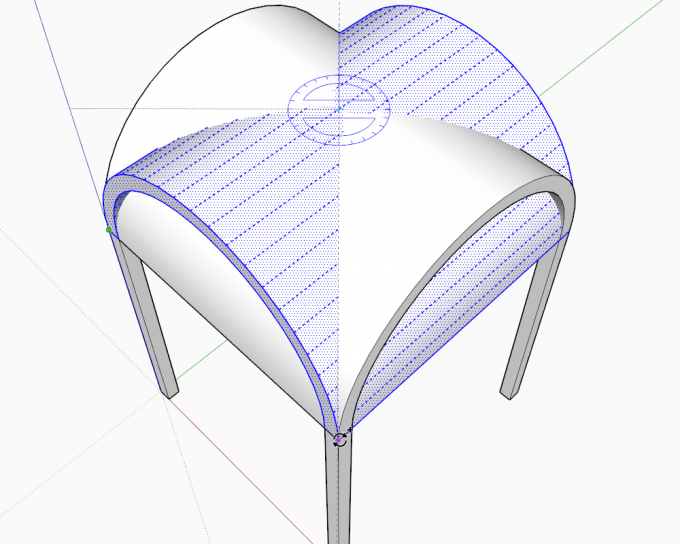
We could draw the other barrel vault in the way above, too, but instead, we copy-rotate it by 90 degrees. Triple click on the vault to select everything - also see that when triple clicking, the softened edges also get highlighted. Make sure to pick the midpoint of the top edge and also that you are rotating around the blue axis (see my rotate tool turning blue).
This can be a bit hard for beginners as the rotate tool will want to get aligned t either of the neighbouring facets so use this technique to align it perpendicular to the blue axis.
Creating the Cross Vault
Once you managed to align the Rotate tool properly, pick a corner and start copy-rotating by snapping to the other corner (or simply enter 90 into the Measurement box and press Enter).
Now one would think that selecting everything and making an intersection will get us to somewhere so let's try it. In this case, it is all the same if you choose Intersect with model or with selected as everything is selected (save for the columns but they do not penetrate into our vaults anyway).
Let's remove excess geometry by selecting it with a right to left selection box and deleting it.
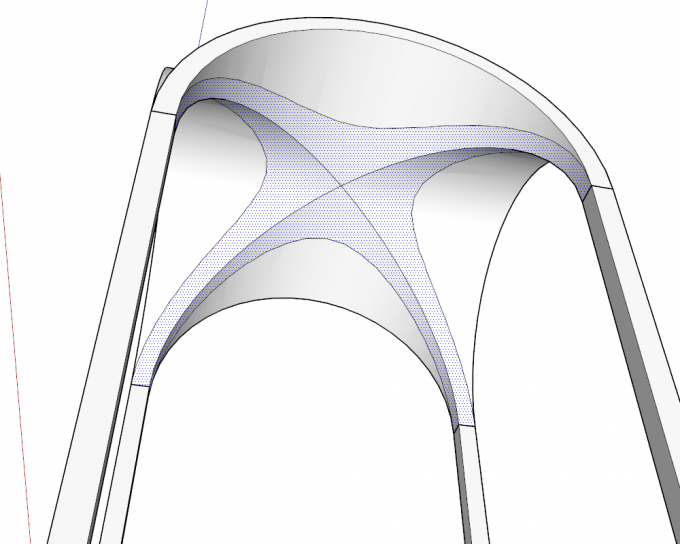
Notice however that in our cross-vault, below, there are extra edges because the top and bottom surfaces of the arches also intersected.
Now of course these can be deleted more or less tediously (or use some cleanup plugins we are nowadays spoilt with) but we can also do this properly to begin with so undo the steps until you get back to where we still have no intersection and let's try again.
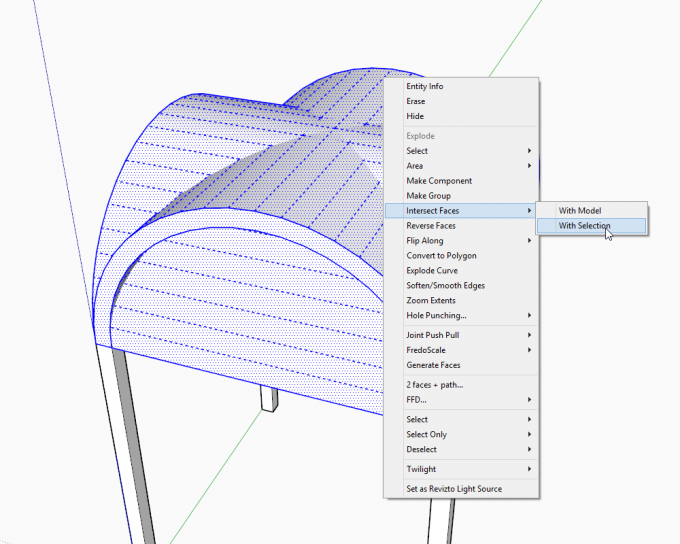
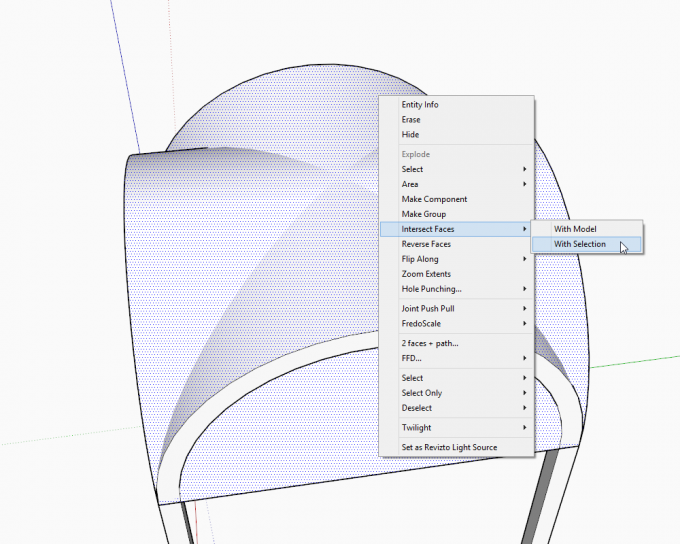
Now only select the top faces (should be two, single clicks) and now make sure to use Intersect with selection only.
Repeat this step by selecting the two bottom surfaces and intersecting them with each other (selection) only.
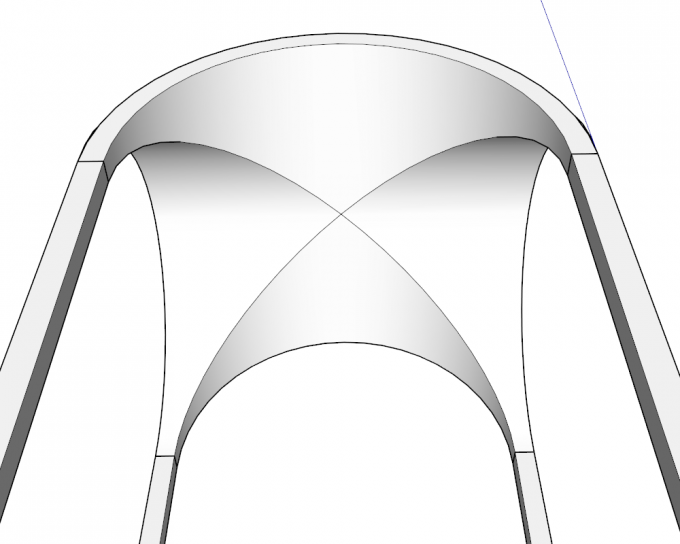
Once we have removed the unneeded geometry, we get a nice, clean cross-vault.
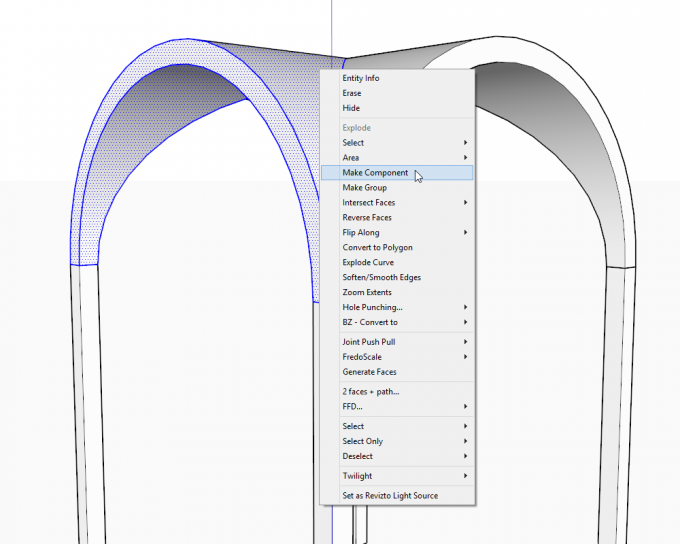
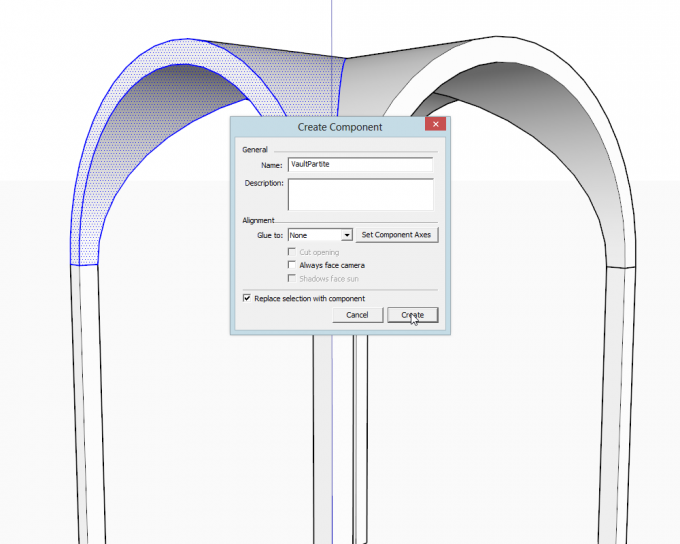
Note that we have four, identical pieces in this cross-vault. Now in order to organize our model efficiently, let's turn them four instances of the same component definition. Select the top, side and bottom surfaces of one of the quarters by double clicking on each while holding the Shift key...
...and turn it into a component. Make sure that "Replace selection with component" is checked (not checked by default as there is touching geometry).
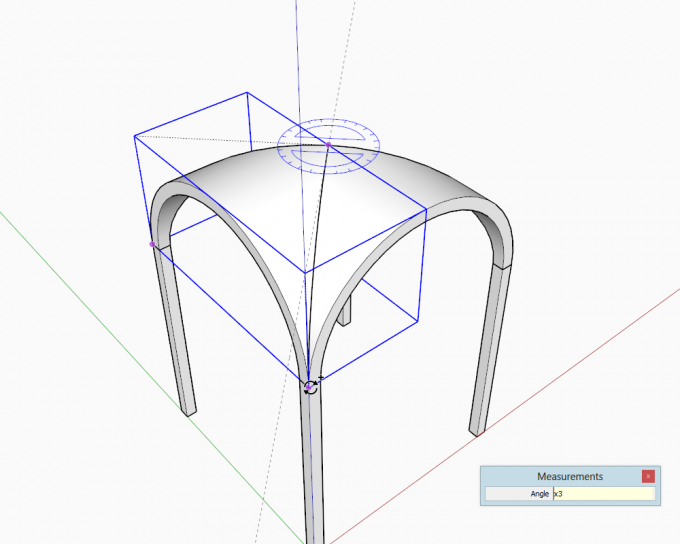
Delete all the other parts and again, carefully aligning the Rotate tool, make a radial array of the component.
Texturing curved surfaces for instance is often a tedious job so if we only need to do it once using components and enjoying that all the other instances pick up the material automatically, we can save a lot of time.
Registered members can add their thoughts and ask questions in this forum topic.


 / (
/ (