In this tutorial you will learn how model and texture low polygon vehicles in SketchUp
Step 1 - Importing UV Grid
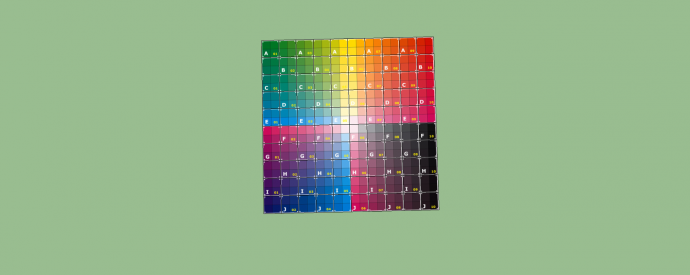
First I searched the web for a 10x10 UV grid and imported into SketchUp. Then I divided the texture into 10x10 squares as you can see by the vertices in the image below.
Step 2 - Choosing polygons for modeling
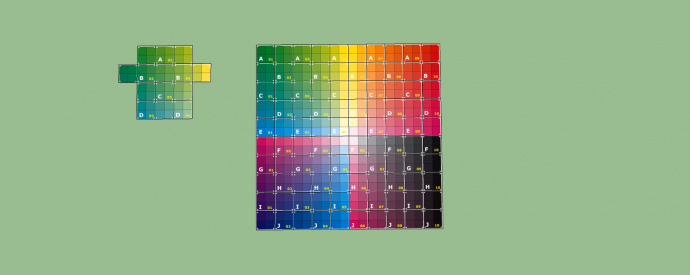
I removed a section from the grid, as you can see on the left, that I wanted to use to construct my low polygon model. As you can see that section is already UV mapped from the first step.
Step 3 - Folding the model to maintain UV mapping
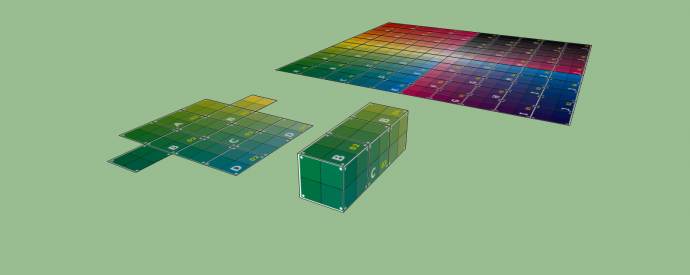
I folded the cut-out section to form a box, note that the UVs are still wrapped to the box. I kept the original cut out to view it from above for the next step.
Step 4 - Opening texture in an Image Editor
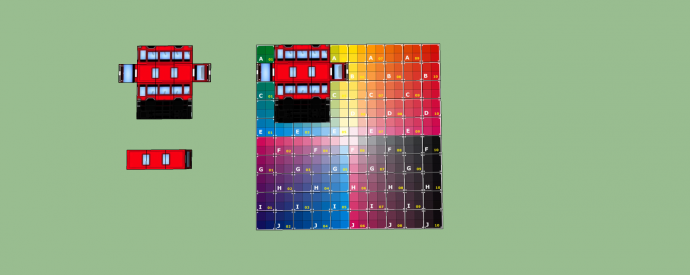
I opened up the texture in GIMP and painted over the squares used to form the UV mapped box.
Step 5 - Importing paint over into SketchUp
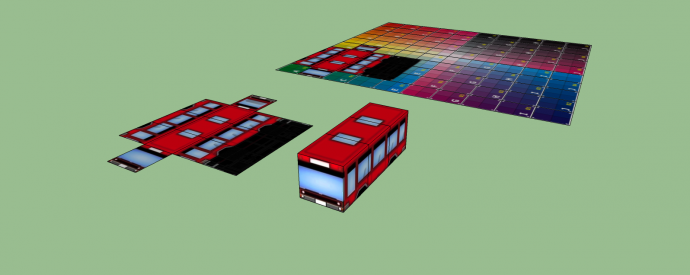
Here you can see the box after the paint over in GIMP.
Step 6 - Adding detail to model
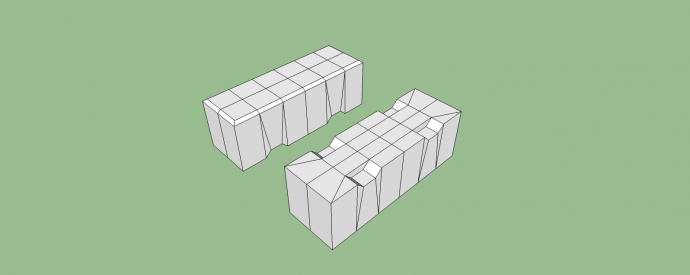
Now we have a bus but it needs some work so we can place wheels underneath. I added more vertices so I could create wheel arches in the mesh.
Step 7 - Creating wheel texture
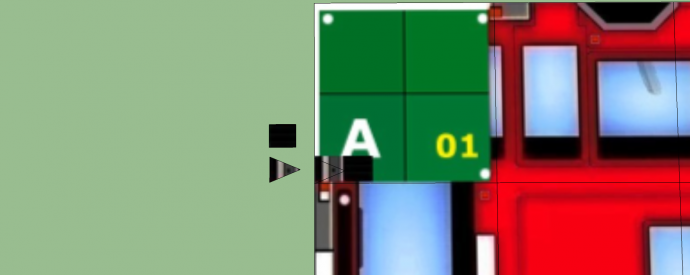
For my next step I needed to create just 1 wheel but use as little of the texture as possible. I used the top left square of the UV grid and made a triangle and a square and painted as needed.
Step 8 - Creating wheel texture
Then attach both the triangle and the square like so and arrayed it around all the way around. Then copy the outer wheel to the opposite side to form the wheel into a solid.

Step 9 - The Final Result
And there you have it a low polygon bus...
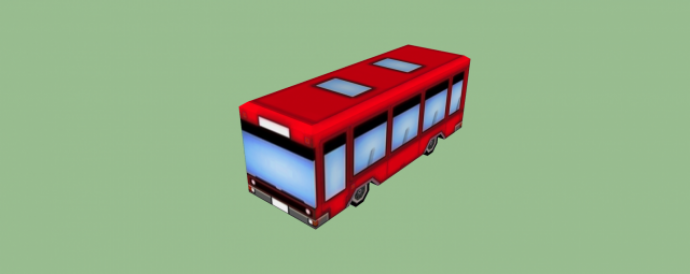
...and it just goes to show sometimes low polygon with a detailed texture can be as effective as a high polygon model.
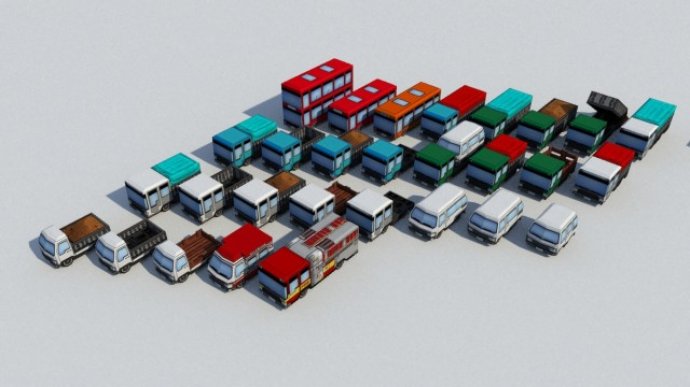
It doesn't stop there, I only used a small part of the texture, so let me show you how many models you can create just by using 1 texture in SketchUp!
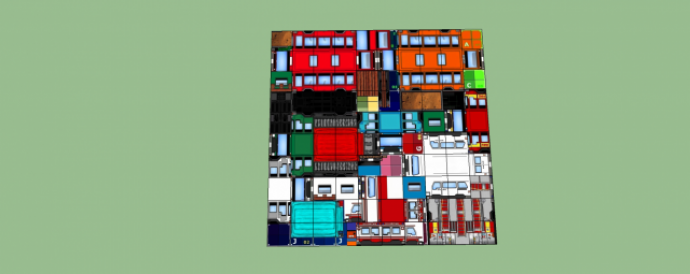
All these models made using 1 texture, I hope you enjoyed this short tutorial and that you learnt from this.
I would also like to see others post low poly models here for us all to see and learn from.
Thanks for taking time to read my tutorial on modeling assets for game development in SketchUp.


